
Cinematic effects for hobby videos are visual and audio enhancements that make personal footage look intentional, polished, and emotionally engaging. The core techniques include color grading, LUT (Look Up Table) application, motion blur, letterboxing, and precision cutting methods like J-cuts and L-cuts. These are not reserved for film school graduates. Free tools like DaVinci Resolve, CapCut, and iMovie now put professional-grade cinematic controls in the hands of any hobbyist. The gap between amateur footage and a polished final cut has never been smaller, and the techniques that close it are learnable in a single weekend.
What are the best cinematic effects for hobby videos?
Color grading combined with LUTs is the single most powerful cinematic effect you can apply to hobby footage. A LUT is a preset color formula that shifts the tones, shadows, and highlights of your video in one click. The popular “teal and orange” grade, for example, gives skin tones warmth while pushing backgrounds cool, which is the look behind most modern action and travel films.
Motion blur is the second technique that separates amateur clips from cinematic ones. When you pan a camera too quickly without motion blur, the result looks choppy and digital. Adding a small amount of directional blur to fast movements makes the footage feel like it was shot on a proper cinema camera.
Letterboxing, also called cinematic bars, adds black bars to the top and bottom of your frame. This changes your aspect ratio to 2.39:1 or 2.35:1, which is the widescreen format audiences associate with movies. The effect costs nothing and takes under 30 seconds to apply in any editing program.

Film grain and light leaks add texture and a sense of age or nostalgia to footage. These overlays sit on top of your video on a separate track and blend using a “screen” or “overlay” blend mode. They work especially well for travel videos, wedding highlights, and personal documentaries.
Which tools should hobbyists use for video editing?
The right tool depends on your skill level and the device you own. Here is a breakdown of the most accessible options for hobbyists in 2026.
- DaVinci Resolve (free desktop): The most powerful free editing suite available. Its color grading panel is the same tool used in Hollywood post-production. The learning curve is steeper than mobile apps, but the results are unmatched for a free product.
- CapCut (free mobile and desktop): Built for speed. CapCut includes one-tap cinematic filters, auto-captions, and AI-powered effects. It is the fastest path from raw footage to a shareable clip.
- iMovie (free, Apple only): The best starting point for Mac and iPhone users. It lacks advanced color tools but handles basic cuts, transitions, and audio mixing cleanly.
- Browser-based platforms: Tools like Kudoflix’s online video editor require no download or installation. You edit directly in a browser, which removes the hardware barrier entirely.
| Tool | Cost | Best for | Cinematic features |
|---|---|---|---|
| DaVinci Resolve | Free | Desktop, advanced users | Full color grading, LUTs, noise reduction |
| CapCut | Free | Mobile, beginners | AI filters, presets, motion effects |
| iMovie | Free | Apple beginners | Basic cuts, transitions, audio |
| Kudoflix | Browser-based | All levels, no install | Templates, effects, transitions |
AI tools and presets now render cinematic effects like LUTs and motion blur in 5–15 seconds. That speed means you can experiment with multiple looks on the same clip without waiting. Experimentation is how you develop an eye for what works.
Pro Tip: Before committing to a desktop download, try a browser-based editor like Kudoflix. You get access to cinematic effects and transitions without installing anything, which is ideal for testing whether a tool fits your workflow.
How do you apply cinematic effects step by step?
A repeatable workflow removes guesswork and speeds up every project. Follow this sequence for consistent results.
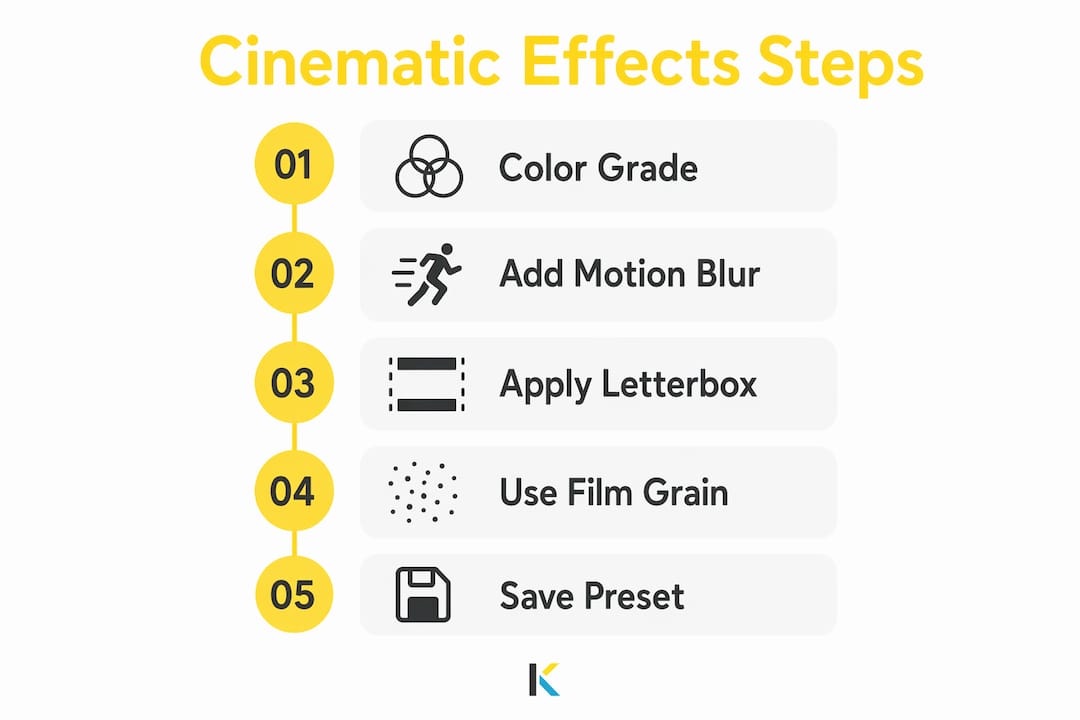
- Import and organize your footage. Create labeled bins or folders by scene or location. Disorganized clips waste editing time before you even start.
- Rough cut first. Lay your clips on the timeline in story order. Do not touch color or effects yet. Get the structure right before you polish anything.
- Apply your color grade. Start with exposure and white balance corrections, then apply a LUT. Adjust the LUT’s intensity to between 60–80% so it looks natural rather than processed.
- Add motion blur to fast cuts or camera movements. Keep the blur subtle. A value of 50% or less reads as cinematic; anything higher looks like a glitch.
- Apply letterboxing. Add a black bar overlay or crop your frame to 2.39:1. This single step makes the biggest visual difference for the least effort.
- Layer film grain or light leaks. Use a grain overlay at 10–20% opacity. More than that draws attention to the effect rather than the story.
- Cut on action and use J/L cuts. Cutting during movement hides the edit and keeps viewers inside the scene. A J-cut lets audio from the next clip start before the picture cuts. An L-cut lets the current audio continue under the next picture. Both techniques create a natural, flowing rhythm that straight cuts cannot match.
- Mix your audio. Normalize dialogue to between -12 and -6 dB. Add room tone under any silent gaps to prevent jarring dead air.
- Export at the highest quality your platform supports. For YouTube and social media, H.264 at 1080p or 4K is the standard.
Pro Tip: Save your color grade, letterbox overlay, and grain settings as a preset or template after your first project. Reusing presets cuts your setup time on future videos by more than half.
How do you improve editing speed and video pacing?
Editing speed and pacing are two different skills, but they reinforce each other. Faster editing gives you more time to refine pacing. Better pacing makes your videos feel cinematic regardless of the effects you use.
Keyboard shortcuts increase editing efficiency by 300–500% compared to mouse-only workflows. In most desktop editors, “J,” “K,” and “L” control playback speed and direction. The “B” key activates the blade tool for splitting clips. Learning these four shortcuts alone will cut your editing time significantly.
Pacing is about controlling how long each shot stays on screen. Short shots (under 2 seconds) create urgency and energy. Longer shots (5 seconds or more) create calm and weight. Cutting your edit to the beat of a music track is the fastest way to learn good pacing instinctively. The rhythm of the music tells you exactly when to cut.
- Organize your timeline by track type. Keep video on tracks 1 and 2, music on track 3, dialogue on track 4, and sound effects on track 5. This structure prevents confusion when you have 20 or more clips on screen.
- Vary your shot lengths deliberately. Three short cuts followed by one long shot creates a natural breathing pattern that viewers feel without noticing.
- Use audio editing automation for dialogue leveling. Automated tools handle volume consistency across multiple clips, which frees you to focus on visual decisions.
- Avoid back-to-back transitions. A dissolve followed immediately by a wipe followed by a zoom looks frantic. Use transitions sparingly, and let clean cuts do most of the work.
Pro Tip: Build a personal effects library by saving your best color grades, transitions, and audio settings as named presets. Label them by mood: “warm travel,” “moody documentary,” “bright vlog.” You will apply the right look in seconds instead of rebuilding it from scratch.
What mistakes should you avoid when adding cinematic effects?
The most common mistake hobbyists make is using effects to cover weak footage. Overusing transitions and flashy effects does not fix a poorly structured story. It signals to viewers that something is off, even if they cannot name why. Clean edits with good audio consistently outperform visually busy ones.
Here are the pitfalls that most often derail hobby video projects.
- Stacking too many effects on one clip. Color grade plus grain plus lens flare plus vignette on a single shot creates visual noise. Pick two effects maximum per clip.
- Ignoring audio quality. Consistent audio levels with dialogue normalized between -12 and -6 dB are the difference between a video people finish watching and one they abandon. Bad audio breaks immersion faster than any visual flaw.
- Skipping pre-production planning. A shot list created before filming prevents disorganized footage that is impossible to edit well. Pre-production organization directly reduces editing time and frustration.
- Copying a look without understanding it. Applying a teal and orange LUT to indoor portrait footage looks wrong because the grade was designed for outdoor scenes with natural light. Learn why a grade works before you use it.
- Neglecting storytelling for gear. Professional video quality depends more on creative decisions about shot selection and timing than on equipment. A well-told story shot on a smartphone beats a boring story shot on a cinema camera.
Key Takeaways
Cinematic quality in hobby videos comes from mastering a small set of techniques, including color grading, precise cutting, and audio control, not from expensive gear or complex software.
| Point | Details |
|---|---|
| Color grading is the top effect | Apply a LUT at 60–80% intensity to set mood without looking over-processed. |
| Cutting technique matters most | Use cut on action, J-cuts, and L-cuts to create smooth, invisible edits. |
| Audio defines production value | Normalize dialogue to -12 to -6 dB and add room tone under silent gaps. |
| Presets save significant time | Save your best grades and settings as named presets for faster future projects. |
| Storytelling beats effects | Clean edits with strong pacing outperform footage loaded with flashy transitions. |
Why I think most hobbyists are solving the wrong problem
Most hobbyists I have watched struggle with video editing are chasing the wrong fix. They buy a new lens, download a new app, or hunt for a better LUT pack. The footage still feels flat. The reason is almost always the same: the edit has no rhythm, and the audio is a mess.
Great hobby videos succeed when storytelling and rhythmic pacing come first. Effects are the last layer, not the foundation. I have seen 4K drone footage edited badly look worse than 1080p phone footage edited well. The difference is always judgment: knowing which shot to cut, when to cut it, and how long to let a moment breathe.
The learning curve is real, but it is not as steep as it looks. Consistent workflows and deliberate experimentation are what separate hobbyists who improve from those who plateau. Pick one technique per project. Master the J-cut this week. Nail your color grade next week. Build the skill set one layer at a time.
The creative process should feel like play, not production pressure. The best hobby videos I have seen were made by people who were genuinely curious about what a technique could do, not people trying to replicate a YouTube tutorial exactly. Give yourself permission to experiment badly. That is how the good stuff happens.
— Mandrixx
How Kudoflix makes cinematic editing accessible for hobbyists
Hobbyists who want cinematic results without a steep learning curve have a direct path through Kudoflix. The platform runs entirely in your browser, so there is nothing to install and no hardware requirements to meet.
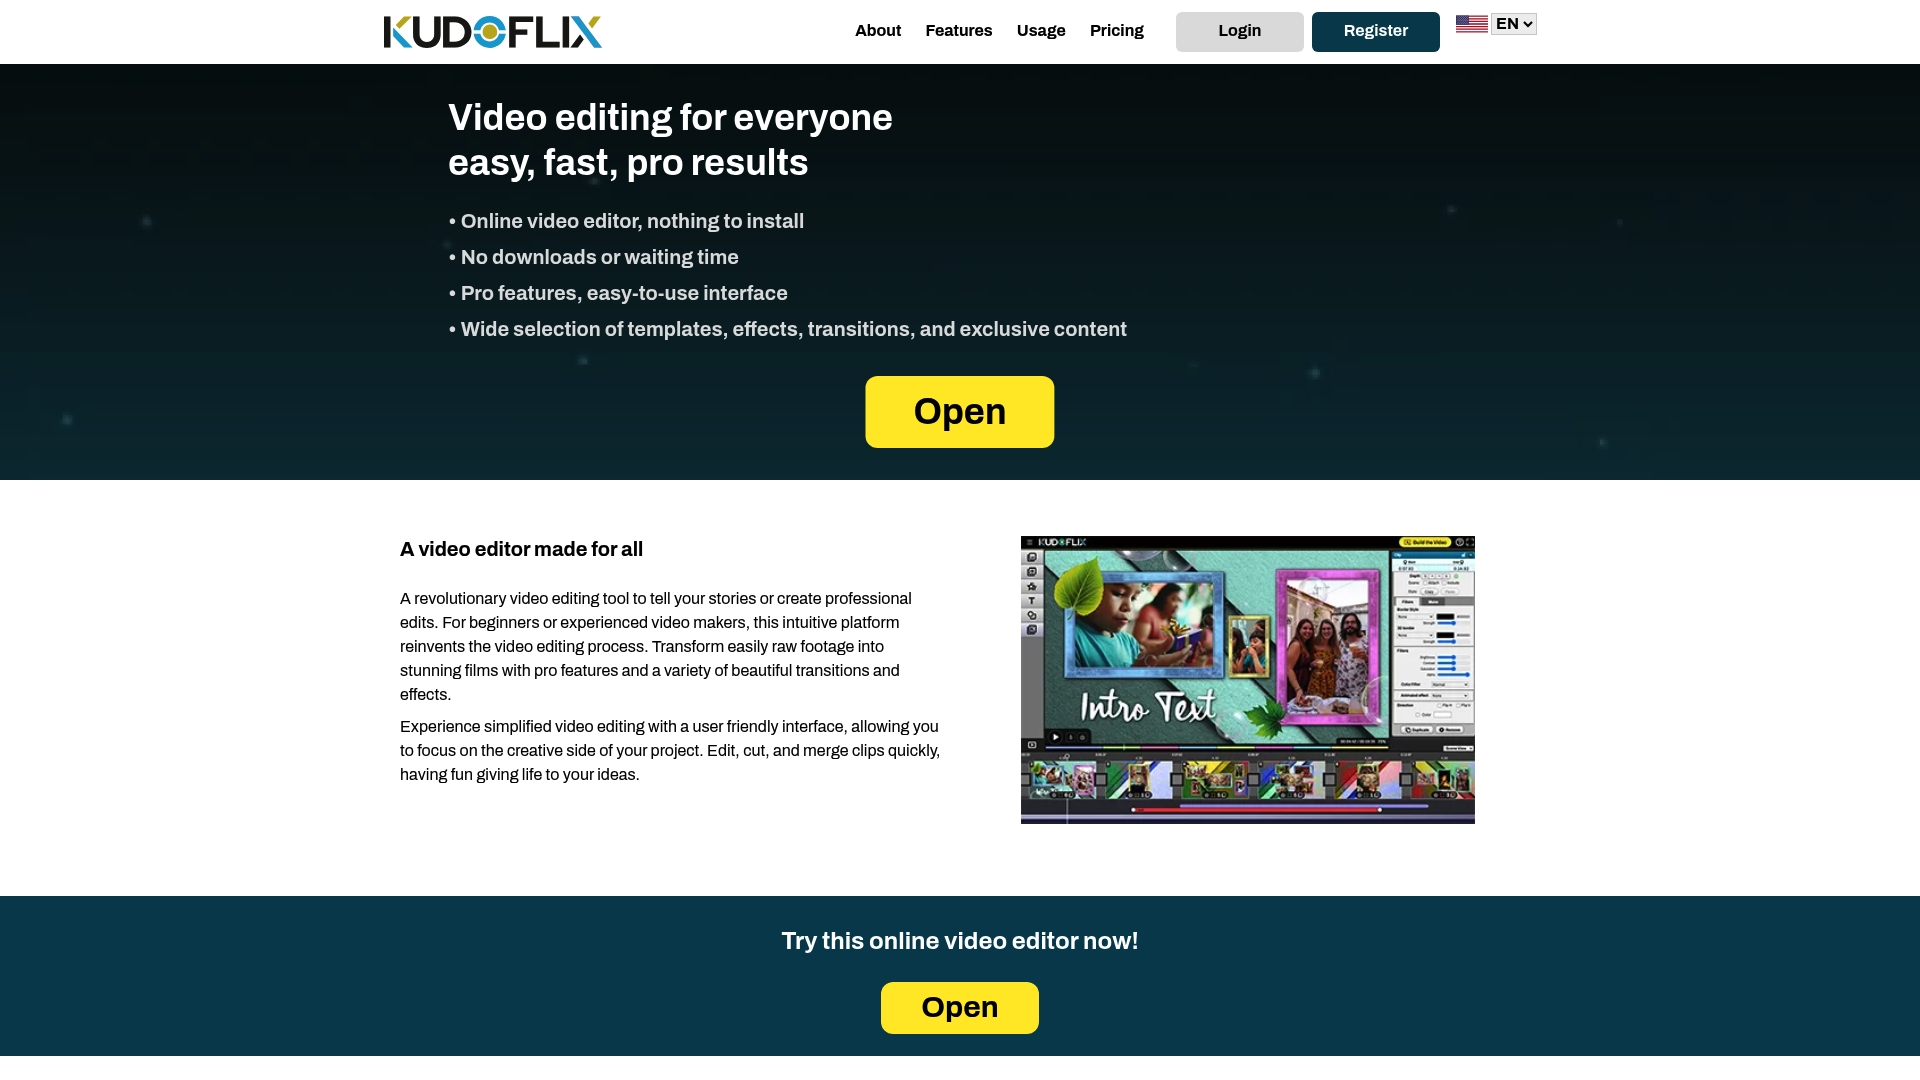
Kudoflix includes an extensive library of cinematic visual effects and ready-to-use film templates that apply color grades, transitions, and overlays in a few clicks. If you want to see what the editor can do before committing, the Kudoflix simple editing guide walks through how hobbyists produce professional-looking results without prior experience. For anyone who has been frustrated by overly complex software, Kudoflix is built specifically to remove that barrier.
FAQ
What are cinematic effects for hobby videos?
Cinematic effects are visual and audio techniques, including color grading, LUTs, motion blur, letterboxing, and precision cuts, that make personal video footage look polished and professionally crafted.
Do I need expensive software to get a cinematic look?
No. Free tools like DaVinci Resolve and CapCut offer professional-grade cinematic features, and browser-based platforms like Kudoflix require no download at all.
What is a LUT and how do I use it?
A LUT (Look Up Table) is a color preset that shifts the tones of your footage in one click. Apply it at 60–80% intensity so the grade looks natural rather than heavily processed.
How do J-cuts and L-cuts improve my videos?
A J-cut starts the audio from the next scene before the picture cuts, and an L-cut holds the current audio under the next picture. Both techniques create smooth audio-visual flow that makes edits feel invisible.
Why does my video still look amateur after adding effects?
Weak storytelling and inconsistent audio are the most common causes. Clean cuts, normalized dialogue, and a clear narrative structure matter more than the number of effects applied.
Recommended