
Video overlays are graphical, textual, or animated elements placed directly over base video footage to add context, reinforce branding, and strengthen viewer engagement. They appear in nearly every professional video format, from YouTube tutorials to corporate training modules to social media reels. The most common types include lower thirds, logo watermarks, text captions, and atmospheric effects like film burns or light leaks. Creators who use overlays well produce videos that feel polished, intentional, and worth watching to the end. Those who ignore them often deliver footage that feels raw and forgettable, no matter how strong the underlying content is.
What are video overlays and how do they work?
A video overlay is any visual layer stacked on top of base footage in a video editing timeline. The overlay sits on a higher track than the base clip, which is what makes it visible during playback. This stacking principle is universal across editing software, from Adobe Premiere Pro and DaVinci Resolve to browser-based tools like Kudoflix.
Overlays work through a combination of positioning, opacity, and timing. A creator places the overlay asset on a track above the base video, adjusts its size and location on the frame, and sets how transparent or opaque it appears. The result is a composite image where both layers are visible at once. That composite is what viewers see when they watch the finished video.
The video overlay effect covers a wide range of visual techniques. A simple white text caption is an overlay. So is a semi-transparent logo in the corner of a corporate video. So is a vintage film grain texture applied over an entire clip for atmosphere. The technique is the same; only the creative intent changes.
How to add video overlays step by step
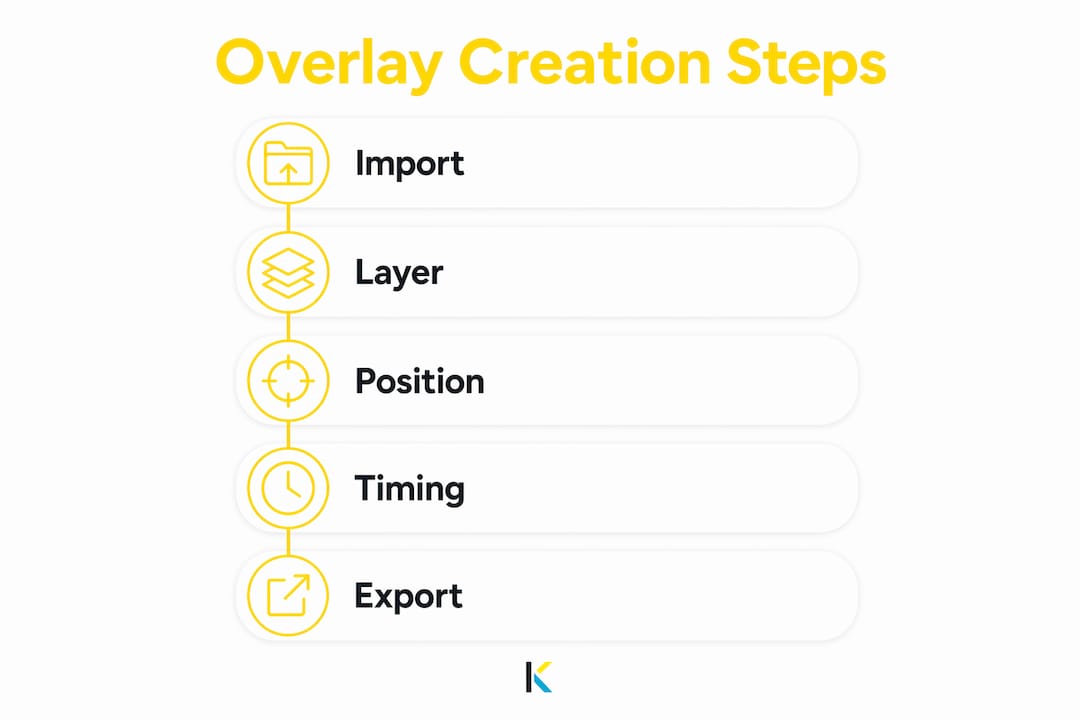
Adding a video overlay follows a universal 4-step process in modern editors, regardless of which software you use. That consistency means learning the process once transfers across tools.
- Import both clips. Bring your base footage and your overlay asset into the editor’s media library. The overlay can be a video file, an image, a PNG with a transparent background, or an animated graphic.
- Stack the overlay above the base. Place the overlay on a timeline track that sits above the base footage track. This is the step most beginners get wrong. Placing the overlay on the same track or below the base clip causes it to disappear entirely or create rendering conflicts.
- Adjust opacity, position, and size. Move the overlay to the correct area of the frame. Set its opacity so it complements rather than covers the footage beneath it. Resize it to fit the visual hierarchy you want.
- Export the final project. Render the composite video at your target resolution. The overlay bakes into the output file unless you are working with a dynamic text system.
For cutout overlays, where you want a subject separated from its background, two techniques apply. Chroma key removes a solid color background (typically green or blue). AI Auto Cutout, available in tools like Kudoflix, detects subject edges automatically without requiring a colored backdrop.
Pro Tip: Always preview your overlay at full resolution before exporting. Overlays that look clean in a small preview window often reveal blurriness or misalignment at 1080p or 4K.
Browser-based editors provide the lowest friction for adding overlays and follow the same underlying principles: timeline stacking, positioning, and opacity adjustment. They require no software installation, which makes them practical for marketers and educators who need results quickly.
Types of video overlays and what each one does
Different overlay types serve different creative and functional goals. Choosing the right type depends on what you need the viewer to understand, feel, or remember.
Informational overlays deliver facts the footage alone cannot communicate:
- Lower thirds display a speaker’s name and title at the bottom of the frame. They are standard in interviews, news segments, and educational videos.
- Captions and subtitles make content accessible and improve retention, especially for viewers watching without sound.
- Timecodes and location tags orient the viewer in documentary and travel content.
Branding overlays build recognition across every video a creator publishes:
- Logo watermarks appear in a corner of the frame, usually at 30–50% opacity so they are visible without distracting from the content.
- Intro and outro cards reinforce channel or brand identity at the start and end of each video.
Atmospheric overlays shape the emotional tone of a scene:
- Film burns and light leaks add warmth and a vintage feel to footage.
- Noise and grain textures give clean digital video an analog quality.
- Color grading overlays shift the entire mood of a scene through tinted layers.
YouTube overlays like widgets and lower thirds are graphical layers designed as reusable modular assets with transparent backgrounds. Creators build them once in design software, then drop them into any video that needs them. That modularity saves significant production time across a channel.
Overlays add context and emotional cues that base footage alone cannot convey. A talking-head video without a lower third forces the viewer to guess who is speaking. The same video with a clean lower third feels immediately more credible. The overlay does not change the footage; it changes what the footage communicates.
| Overlay type | Primary use | Example scenario |
|---|---|---|
| Lower third | Identify speakers or locations | Interview with an expert on camera |
| Logo watermark | Brand recognition | Corporate training video |
| Caption or subtitle | Accessibility and silent viewing | Social media reel |
| Film burn or grain | Atmospheric tone | Travel vlog or cinematic short |
| Widget or subscriber count | YouTube channel engagement | YouTube tutorial or live stream recap |
| Intro or outro card | Channel branding | YouTube or TikTok series |
For visual storytelling in brand marketing, overlays function as a consistent visual language. When every video in a series uses the same lower third font, the same logo placement, and the same color palette in its overlays, the brand becomes recognizable without the viewer consciously noticing why.
Tools and workflows for creating custom overlays
The right tool depends on the complexity of the overlay and the volume of videos you produce.
Adobe After Effects is the industry standard for building YouTube overlays and motion graphic assets. Creators design animated lower thirds, subscribe buttons, and end screens in After Effects, then export with alpha channel using codecs like ProRes 4444. That export preserves transparency, which allows the overlay to stack cleanly over any footage in any non-linear editor. The alpha channel is what separates a professional overlay from a flat image with a white background.
Browser-based tools use WebAssembly to process text overlays locally without uploading footage to a server. That approach protects privacy and speeds up the workflow significantly. These tools support multiple text layers with individual timing controls, customizable stroke widths, and adjustable background opacity for subtitle readability. They are the right choice for creators who need clean text overlays fast, without a steep learning curve.
API-driven overlay automation is the correct approach for large-scale content production. Manual overlay placement is inefficient when you are producing hundreds or thousands of videos. APIs apply logos, watermarks, and branded elements programmatically across an entire video library, ensuring brand consistency without human error. Marketing teams running high-volume social campaigns rely on this method to maintain identity at scale. For teams exploring content marketing automation, API-driven overlays are a practical starting point.
Pro Tip: Respect broadcast safe zones when placing overlays. Keep all text and logos within the inner 90% of the frame. Content near the edges risks being cropped on certain screens or platforms.
Overlay timing matters as much as design. A lower third that appears too early feels rushed. One that lingers too long becomes visual noise. The standard practice is to bring a lower third in two to three seconds after a speaker begins talking and remove it after five to seven seconds. That timing feels natural to viewers without drawing attention to the overlay itself.
Common mistakes that undermine overlay quality
The most frequent overlay error is track placement. Placing the overlay on the same timeline track as the base footage, or below it, causes the overlay to disappear. The fix is simple: always confirm the overlay sits on a higher track number than the base clip before exporting.
Ignoring safe zones is the second most common mistake. Overlays placed too close to the frame edge get cropped on televisions, mobile screens, and certain social platforms. Effective overlays respect safe zones and use high-contrast design so they remain legible against dynamic video backgrounds.
The burn-in versus dynamic text decision also trips up many creators. Burn-in text overlays guarantee consistent styling across every device and platform because the text is baked permanently into the video file. Dynamic text overlays adapt to different playback environments but can render inconsistently depending on the platform. For social media and YouTube, burn-in text is the safer choice for style control. For interactive or platform-native content, dynamic text offers more flexibility.
| Mistake | Why it fails | Best practice |
|---|---|---|
| Overlay on wrong timeline track | Overlay becomes invisible or conflicts with base | Always stack overlay above base footage track |
| Ignoring safe zones | Content crops on edges of screens | Keep overlays within inner 90% of frame |
| Opacity too high | Overlay covers and distracts from footage | Set logo watermarks to 30–50% opacity |
| No timing control | Overlay appears or disappears abruptly | Fade in and out with 0.5–1 second transitions |
| Burn-in vs. dynamic confusion | Inconsistent appearance across devices | Use burn-in for social; dynamic for interactive platforms |
Overusing overlays clutters the frame and pulls viewer attention away from the content itself. The rule that motion graphic designers follow is simple: if an overlay does not add information or reinforce brand identity, it does not belong in the video.
Key Takeaways
Video overlays work best when each element serves a clear purpose, follows consistent placement rules, and respects the visual hierarchy of the frame.
| Point | Details |
|---|---|
| Universal stacking rule | Always place overlay assets on a timeline track above the base footage to make them visible. |
| Match overlay type to goal | Use lower thirds for information, logo watermarks for branding, and film burns for atmosphere. |
| Export with alpha channel | Use ProRes 4444 or equivalent codecs to preserve transparency in reusable overlay assets. |
| Burn-in for consistency | Baked-in text overlays guarantee uniform styling across all devices and platforms. |
| Automate at scale | API-driven overlay tools apply branding across large video libraries without manual effort. |
Why I think most creators underuse overlays
Most creators treat overlays as decoration. That is the wrong frame entirely. An overlay is a communication tool. When I look at videos that fail to hold attention past the 30-second mark, the problem is almost always the same: the viewer does not know who is speaking, what the video is about, or why they should keep watching. A well-placed lower third and a clear title card solve all three problems in the first ten seconds.
The other mistake I see constantly is building overlays from scratch for every video. That approach wastes hours. The creators who produce the most consistent, professional-looking content build a small library of reusable overlay assets, usually five to ten files, and drop them into every project. The Kudoflix video examples show exactly how this looks in practice: consistent branding, clean text placement, and atmospheric effects that feel intentional rather than accidental.
My honest recommendation is to start with two overlays: a lower third and a logo watermark. Get those right, make them reusable, and apply them consistently. Then add atmospheric effects once the informational layer is solid. Creators who try to do everything at once end up with cluttered frames and no clear visual hierarchy. Simplicity is not a limitation. It is the mark of someone who understands what overlays are actually for.
— Mandrixx
Kudoflix makes overlay editing straightforward
Kudoflix is built for creators who want professional overlay results without the complexity of desktop software. The Kudoflix video editor handles overlay positioning, opacity control, and timing directly in the browser, with no downloads required.
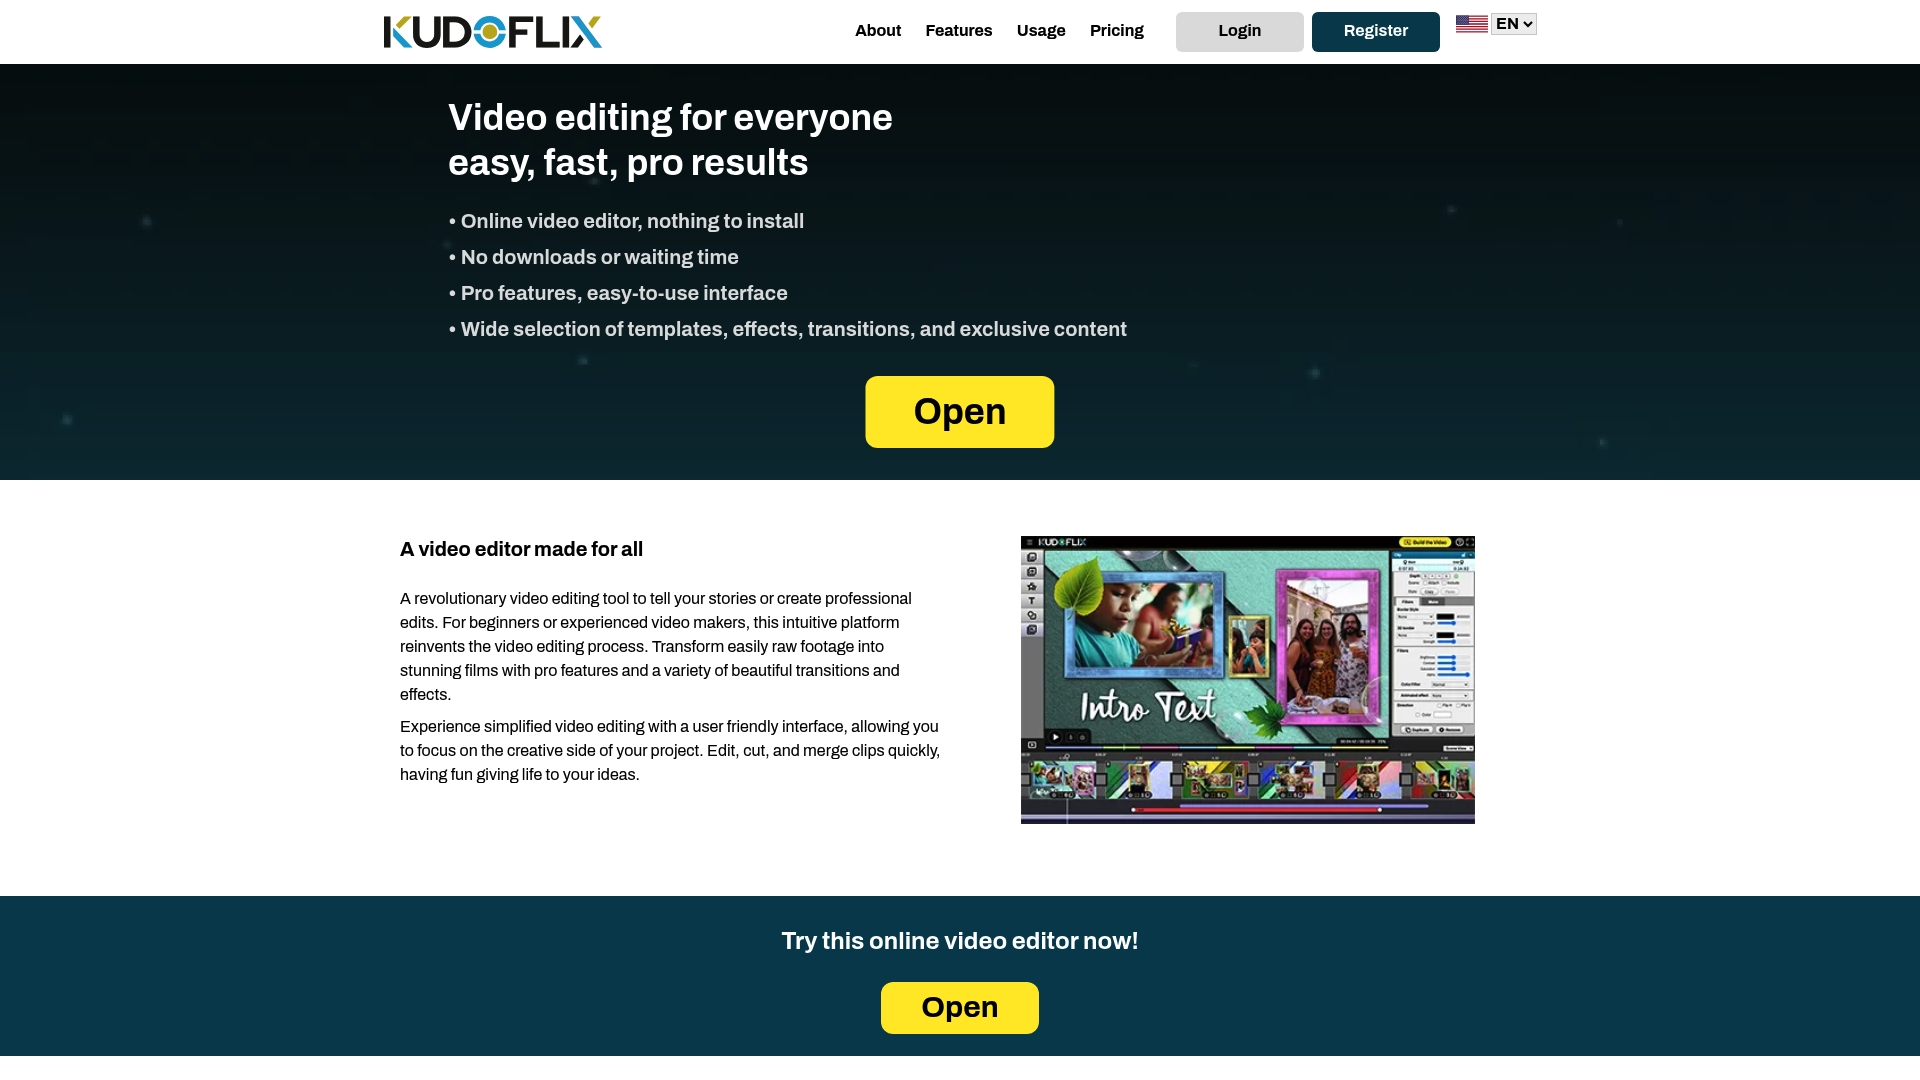
The platform includes a library of free overlay templates covering lower thirds, text effects, transitions, and visual effects like film burns and light leaks. Marketers, educators, and content creators can apply these assets to any project in a few clicks and export a finished video that looks polished from the first frame. For anyone who has struggled with overly complex software, Kudoflix removes the technical barriers and puts the focus back on the content itself.
FAQ
What is a video overlay?
A video overlay is any graphical, textual, or animated element placed on top of base video footage in a timeline editor. Common examples include lower thirds, logo watermarks, captions, and atmospheric effects like film grain.
What is the video overlay effect?
The video overlay effect refers to the visual result of stacking a semi-transparent or fully opaque graphic over footage. The effect can be informational, like a caption, or atmospheric, like a light leak or color tint.
How do I add text overlays to my clips?
Place a text asset on a timeline track above your base footage, adjust its position and opacity, and set its start and end timing. Browser-based tools process this locally using WebAssembly, which speeds up the workflow without requiring a server upload.
What are free video overlays and where do I find them?
Free video overlays are pre-made graphic assets, including lower thirds, film burns, and logo templates, available at no cost through platforms like Kudoflix. They are designed with transparent backgrounds so they stack cleanly over any footage.
Should I use burn-in or dynamic text overlays?
Burn-in text overlays bake the text permanently into the video file, guaranteeing consistent styling on every device. Dynamic text overlays adapt to the playback environment but can render differently across platforms. For social media, burn-in is the more reliable choice.
Recommended