
Drag and drop video editing is defined as a method of assembling and arranging video clips, audio tracks, and effects by physically moving them onto a timeline or workspace with a mouse or touchscreen. The industry term for this approach is “non-linear editing,” and drag and drop is the interface style that makes it accessible to anyone. You do not need to write code, memorize keyboard shortcuts, or sit through a tutorial marathon. The result is a faster, more visual way to produce polished content for social media, personal projects, or promotional videos.
What is the typical drag-and-drop video editing workflow?
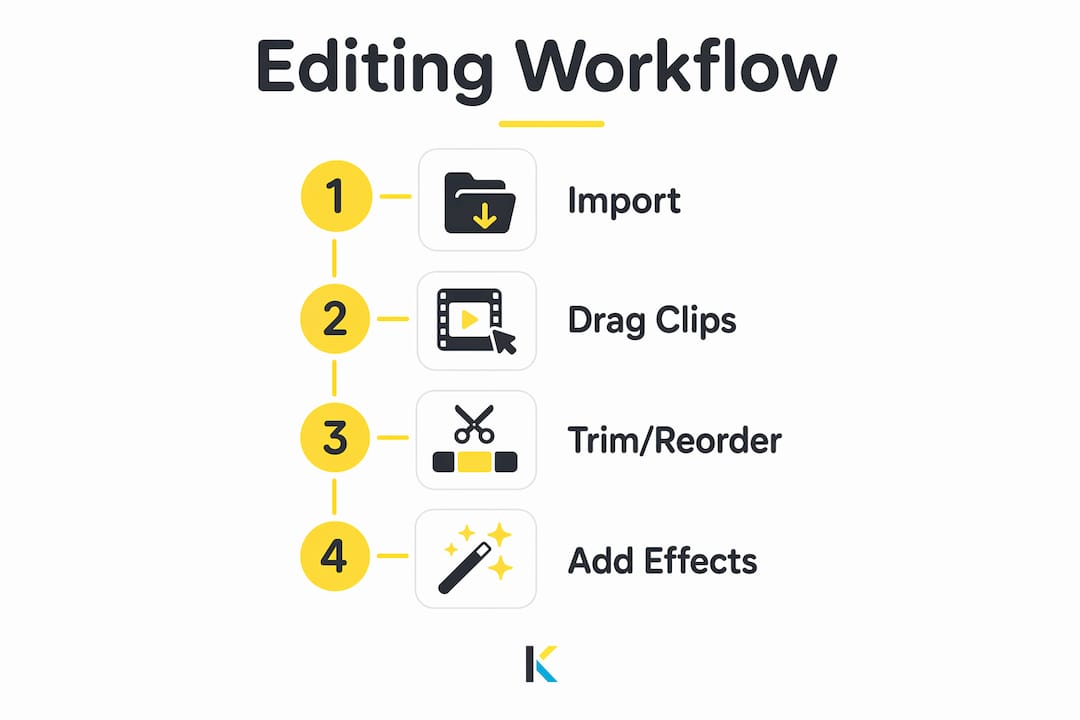
The standard four-step process covers importing media, dragging clips onto a timeline, trimming and reordering, and adding transitions and effects. Each step builds on the last, and the whole sequence is designed to feel visual rather than technical.
Step 1: Import your media

Upload your video clips, photos, and audio files to the editor. Most platforms accept popular formats like MP4 and MOV, so you rarely need to convert files before starting. This wide format support means footage from a phone, camera, or screen recorder all lands in the same project without friction.
Step 2: Drag clips onto the timeline
The timeline is a horizontal strip at the bottom of the screen. You drag each clip from your media library and drop it into position on the timeline. The order you place them determines the order they play. This visual arrangement is what makes the method so intuitive for beginners.
Step 3: Trim and reorder
Click on any clip on the timeline to reveal its handles at each end. Drag the left handle to cut the beginning, or the right handle to shorten the end. To reorder, grab the clip and drag it to a new position. Trimming with visual handles is faster than typing timecodes and easier to undo if you change your mind.
Step 4: Add transitions, effects, and audio
Drag a transition icon from the effects panel and drop it between two clips. The same drag and drop logic applies to music tracks, text overlays, and visual filters. Non-destructive editing means your original files stay untouched throughout this entire process. You can remove or swap any element without starting over.
Pro Tip: Before you drag a single clip to the timeline, rename your files with clear labels like “intro,” “product shot,” or “outro.” A tidy media library cuts your assembly time in half.
What technical features enable drag-and-drop video editing interfaces?
The interface elements that make drag and drop editing feel effortless are not accidental. They are specific technical features built into the editor.
- Magnetic timeline. Magnetic timelines automatically shift clips to close gaps when you move or delete a clip. Without this feature, removing one clip would leave a black frame in your video. The magnetic behavior eliminates that problem without any manual adjustment.
- Ripple editing. Ripple editing goes one step further. When you shorten a clip, every clip to its right slides left to fill the space. This keeps your video tight and prevents accidental gaps from forming mid-project.
- Visual clip handles. Timeline elements like clip handles and a playhead give you direct control over every cut. The playhead is the vertical line you drag across the timeline to preview any moment in your video.
- Separate video and audio tracks. Most editors display video on one track and audio on another, stacked vertically. This layout lets you adjust music volume or swap a sound effect without touching the video layer.
- Format compatibility. Support for MP4, MOV, and similar formats means you spend less time troubleshooting and more time editing.
“Users often misunderstand drag and drop as just moving clips visually, but advanced features like ripple editing make the timeline automatically rearrange clips to maintain flow.” This automation reduces editing errors and speeds up timeline management significantly.
The gap between a basic drag and drop editor and a more complex software program often comes down to whether these features are present and visible. When they work quietly in the background, the editing experience feels natural rather than technical.
What common pitfalls should beginners avoid in drag-and-drop editing?
The biggest mistake beginners make is treating drag and drop as a shortcut that skips detailed editing. It is not. The interface is simpler, but the quality of your final video still depends on the quality of your individual clips.
Polishing clips before timeline assembly produces cleaner final videos. Color correction, audio normalization, and stabilization should happen at the clip level, before you drag anything onto the timeline. Skipping this step means you will be chasing problems across a fully assembled project, which is far harder to fix.
Common beginner mistakes to avoid:
- Skipping audio normalization. Clips recorded in different environments have different volume levels. Normalizing audio before assembly prevents jarring volume jumps in the final video.
- Ignoring stabilization. Shaky footage looks unprofessional even with great transitions. Stabilize clips individually before they hit the timeline.
- Overloading with transitions. A dissolve between every clip creates visual noise. Use transitions sparingly, and only where they serve the story.
- Working with unorganized media. Dumping 50 unnamed clips into a project makes reordering painful. Sort and label files first.
Pro Tip: Treat your clip editor and your timeline editor as two separate phases. Phase one is polishing. Phase two is assembling. Mixing both phases in one session leads to messy, hard-to-fix projects.
The misconception that drag and drop means “quick and rough” is worth correcting early. The interface removes technical friction, but it does not replace editorial judgment. The best results come from creators who use the simple interface to focus more attention on storytelling, not less.
How do drag-and-drop video editors benefit personal creators and social media users?
Drag and drop tools empower small businesses and casual creators to produce polished videos quickly without learning complex software. That accessibility changes who can make video content, not just how fast they can make it.
The practical benefits for personal creators and social media users include:
- No advanced skills required. The visual interface replaces technical knowledge. A creator who has never edited video before can produce a watchable result in under an hour.
- Templates accelerate production. Video templates give you a pre-built structure for common formats like Instagram Reels, YouTube intros, or product demos. You swap in your own footage and the layout is already done.
- Web-based access removes barriers. Browser-based editors require no download or installation. You can edit on a laptop, tablet, or any device with internet access.
- Stock media fills gaps. Built-in libraries of stock footage, music, and photos mean you can complete a video even when your own footage is limited.
| Use case | What drag and drop editing delivers |
|---|---|
| Social media clips | Fast assembly with preset aspect ratios for each platform |
| Family memory videos | Simple trimming and music addition without technical knowledge |
| Business promos | Professional-looking results using templates and branded effects |
| Educational content | Easy addition of text overlays and screen recordings |
Video in education and marketing both benefit from the same core advantage: creators spend time on the message, not the mechanics. When the tool gets out of the way, the content gets better. Platforms like Kudoflix are built on exactly this principle, offering effects and transitions that drop directly onto the timeline without any technical setup.
Key Takeaways
Drag and drop video editing is the most accessible path to polished video content because it replaces technical complexity with a visual, hands-on workflow that anyone can learn in a single session.
| Point | Details |
|---|---|
| Core workflow is four steps | Import, drag to timeline, trim and reorder, then add effects and audio. |
| Magnetic timeline prevents gaps | Ripple editing and magnetic behavior automatically close spaces when clips are moved or deleted. |
| Polish clips before assembling | Apply color correction, audio normalization, and stabilization at the clip level first. |
| Templates speed up production | Pre-built layouts handle structure so creators focus on footage and messaging. |
| Web-based editors remove barriers | No download or installation means editing is accessible on any device. |
Why drag and drop changed how I think about video editing
I spent years watching people avoid video entirely because they assumed it required professional software and a steep learning curve. That assumption was reasonable in 2010. It is not reasonable now.
What changed my perspective was watching a first-time creator produce a clean, watchable product video in about 45 minutes using a drag and drop editor. No prior experience. No tutorial. The magnetic timeline handled the gaps. The templates handled the layout. The creator handled the story. That division of labor is the real value here.
The part most articles skip is the clip polishing step. Every experienced editor I know treats timeline assembly and clip preparation as separate phases. Beginners who skip the polishing phase and go straight to assembly end up with projects that look rough no matter how good the transitions are. The interface cannot fix bad source material.
My honest advice: spend the first 20 minutes of any project on your clips, not your timeline. Normalize the audio. Stabilize the shaky shots. Trim the dead air at the start and end of each clip. Then drag everything to the timeline. The assembly will take half the time, and the result will look twice as good.
Drag and drop editing democratizes video production in a real way. It does not lower the ceiling on quality. It raises the floor on accessibility. Those are two very different things, and the distinction matters if you want to take your content seriously.
— Mandrixx
Kudoflix makes professional video editing straightforward
Kudoflix is a browser-based video editor built for creators who want professional results without a complicated setup. There is no software to install and no learning curve that requires a weekend to clear.
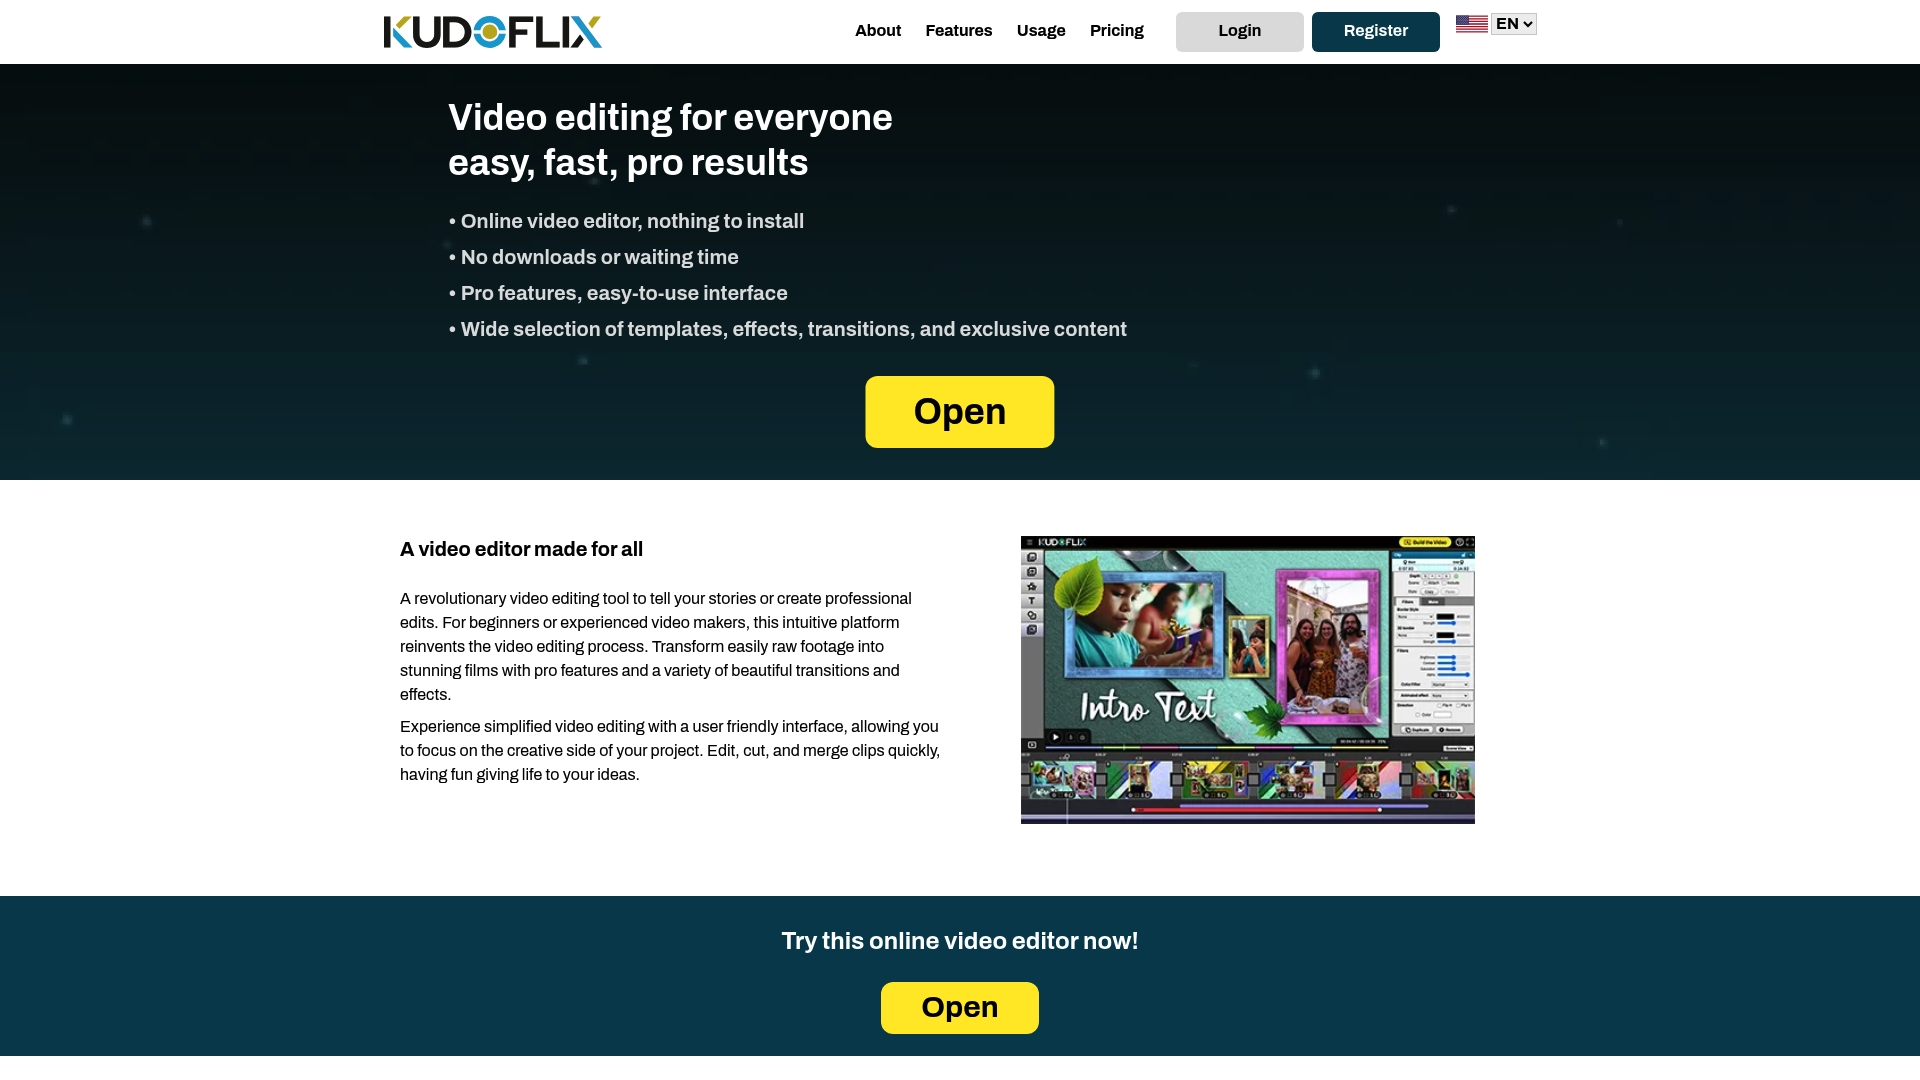
The Kudoflix editor gives you a full drag and drop timeline, an extensive library of templates, and visual effects and transitions that drop directly onto your project in seconds. Whether you are cutting a product promo, a social media clip, or a personal video, the Kudoflix video editor handles the technical side so you can focus on what you want to say. See what is possible by browsing real examples made with the platform.
FAQ
What is drag and drop video editing?
Drag and drop video editing is a non-linear editing method where users arrange clips, effects, and audio by dragging them onto a visual timeline. It requires no coding or advanced technical skills.
How does a magnetic timeline work?
A magnetic timeline automatically shifts surrounding clips to close gaps when you move or delete a clip. This prevents black frames and keeps your video flowing without manual adjustments.
Do I need to install software to use drag and drop editors?
Web-based drag and drop editors like Kudoflix run entirely in a browser and require no download or installation. You only need an internet connection and a device.
What video formats do drag and drop editors support?
Most drag and drop editors support common formats including MP4 and MOV, which covers footage from smartphones, cameras, and screen recorders without conversion.
What should beginners do before assembling a timeline?
Beginners should polish each clip individually first, applying color correction, audio normalization, and stabilization before dragging anything onto the timeline. This produces a cleaner final video and avoids hard-to-fix problems later.
Recommended