
Vertical video editing for reels is the process of formatting and editing video content specifically for the 9:16 aspect ratio used by Instagram Reels and TikTok. The format fills the entire mobile screen, which changes how you frame subjects, pace cuts, and position text. Creators who master this format see measurably better watch-through rates and retention than those who simply crop horizontal footage. This guide covers every technical setting, editing step, and engagement tactic you need to produce reels that perform in 2026.
What are the right technical specs for vertical video editing for reels?
Getting your project settings right before you record or import a single clip saves hours of rework. The industry standard for reels is 1080×1920 pixels at a 9:16 aspect ratio. That resolution hits the sweet spot between file size and sharpness on every major platform.
Frame rate matters more than most creators realize. Use 30fps for talking-head content, interviews, and lifestyle clips. Switch to 60fps for sports, dance, or any footage with fast movement. Higher frame rates prevent motion blur that makes vertical video look cheap on mobile screens.

A common mistake is shooting in 4K and assuming the platform will display it at full quality. Platform bitrate caps mean 4K vertical video gets compressed down anyway, so 1080p is the optimal export resolution. You get a smaller file, faster upload, and no visible quality difference.
Safe zones are non-negotiable. Platforms overlay their UI elements, including like buttons, captions, and profile links, over the bottom and top edges of your video. The safe zone standard places subjects in the upper center of the frame and keeps captions in the middle third. Anything outside that area risks being hidden by the platform interface.
Key specs at a glance:
- Resolution: 1080×1920 pixels (9:16 ratio)
- Frame rate: 30fps standard, 60fps for high-motion content
- Export format: MP4 with H.264 codec for broadest compatibility
- Safe zone: Keep subjects upper center, captions in the middle third
- File size: Use a compression tool like Handbrake before uploading
Pro Tip: Set your editing project to 1080×1920 before importing any footage. Changing the canvas size after you have placed clips forces every element to reposition, which wastes time.
How do you edit reels step by step?
A repeatable workflow separates creators who publish consistently from those who spend three hours on a single clip. Follow these steps every time you sit down to edit.
-
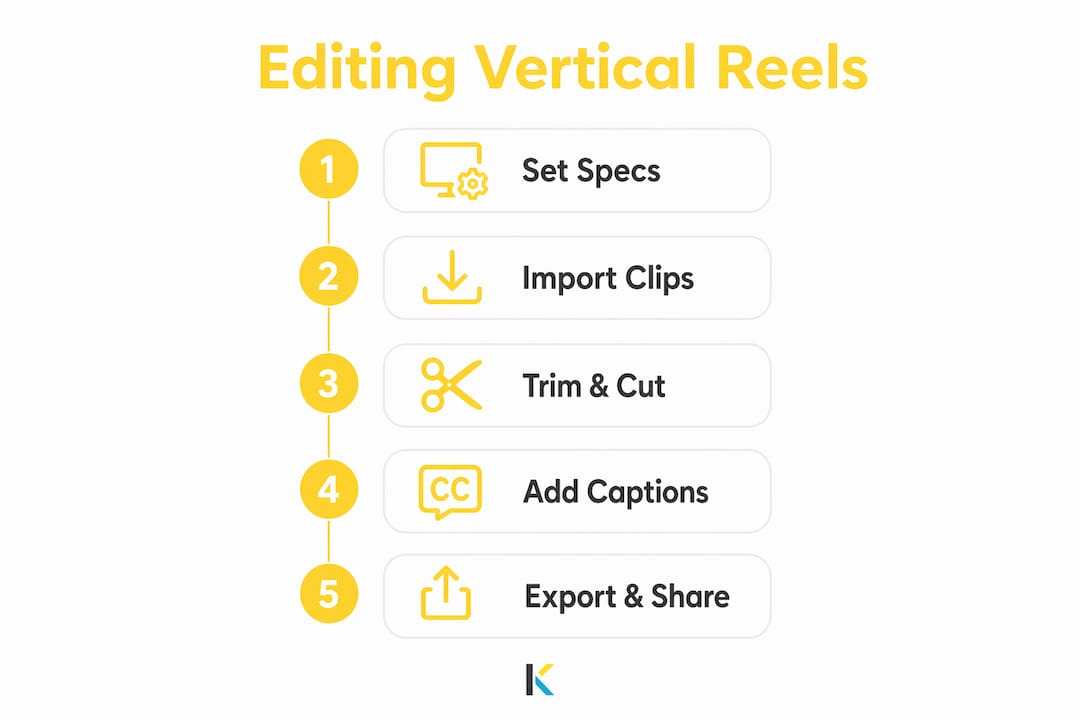
Create a vertical project first. Open your editing software and set the canvas to 1080×1920 at 30fps before importing anything. Starting in the wrong orientation is the single most common beginner mistake.
-
Import and organize your clips. Drop all raw footage into a bin or folder within the project. Label clips by scene or moment so you can find them quickly during the cut.
-
Reframe horizontal footage. If you are working with landscape clips, use auto-tracking to follow your subject into the vertical frame. Auto-tracking tools simplify this process, but manual keyframing gives finer control for scenes with multiple subjects moving in different directions.
-
Cut your hook first. The emotional hook in the first 3 seconds is the single most important edit in the entire reel. Pull the most visually striking or emotionally charged moment to the very beginning. Do not open with a title card or a slow pan.
-
Build the body with tight pacing. Optimal pacing refreshes a visual element every 2–4 seconds to prevent drop-off. Cut silences aggressively. Every second of dead air costs you watch time.
-
Add captions. 85% of viewers watch reels with sound muted. Captions are not optional. Position them in the middle third of the frame so they stay clear of platform UI overlays.
-
Layer transitions, text overlays, and effects. Keep transitions simple. A hard cut or a quick zoom works better than a flashy wipe that distracts from your content. Text overlays should reinforce the spoken word, not repeat it verbatim.
-
Export and compress. Export at 1080×1920, then run the file through Handbrake to reduce file size without visible quality loss. Platform compression degrades videos that are already large, so pre-compressing protects your image quality.
Pro Tip: Edit your reel with your phone’s volume off. If the content makes sense without audio, your captions and visuals are doing their job.
What are the best apps for vertical video editing?
The right tool depends on your skill level and how much control you need over the final output.
Mobile apps are the fastest path for creators who shoot and edit on the same device. The best apps for vertical video include options with built-in 9:16 templates, auto-caption generation, and one-tap export to social platforms. Most mobile editors handle trimming, speed ramping, and basic color grading well. Their main limitation is precision: fine-tuned keyframing and multi-track audio mixing are difficult on a small screen.
Desktop editors like Adobe Premiere Pro and DaVinci Resolve support vertical timelines and give you full control over every frame. Premiere Pro’s Auto Reframe feature detects the subject and repositions it automatically when you switch from 16:9 to 9:16. DaVinci Resolve offers professional color grading at no cost for the base version. Both tools have a steeper learning curve but produce cleaner results for complex edits.
The native Instagram Reel editor handles trimming, speed changes, audio, and effects directly inside the app. It works well for quick, low-production content. The limitation is that you cannot do multi-track editing, precise caption placement, or advanced color work inside the native tool.
Kudoflix runs entirely in a browser with no download required. It supports vertical video formats, includes a library of templates and transitions built for social media, and exports directly in reel-ready settings. Creators who want desktop-level control without installing software find it a practical middle ground between mobile apps and full professional editors.
Choosing by skill level:
- Beginner: Mobile apps with preset vertical templates and auto-captions
- Intermediate: Kudoflix or browser-based editors with template libraries and direct export
- Advanced: Desktop editors with manual keyframing and multi-track audio
What mistakes hurt vertical reels the most?
Most reels fail in the first five seconds. Avoiding dead air in the first 10 seconds is the single biggest factor in keeping viewers past the initial scroll. A weak or slow opening tells the algorithm your content is not worth promoting.
The most damaging mistakes and their fixes:
- Slow hook: Cut straight to your most compelling visual or statement. Never open with a logo, a title card, or a greeting.
- Text outside the safe zone: Any text near the top or bottom edges gets covered by platform UI. Keep all text in the middle third of the frame.
- Unreadable captions: Small font sizes and low-contrast colors make captions invisible on bright screens. Use bold, high-contrast text at a minimum 36-point size.
- Pacing that drags: If a clip runs longer than four seconds without a visual change, cut it. Viewer attention drops sharply after that threshold.
- Reframing multiple subjects poorly: When two people are on screen and you reframe to vertical, one often gets cropped out. Use manual keyframing to pan between subjects rather than locking the frame on one person.
- Skipping compression: Uploading a large, uncompressed file lets the platform’s own compression algorithm degrade your video. Pre-compressing with a tool like Handbrake preserves sharpness.
Pro Tip: Watch your finished reel on an actual phone before publishing. What looks sharp on a desktop monitor often reveals caption placement errors and pacing issues on a mobile screen.
How do you maximize engagement and algorithm performance?
The algorithm on both Instagram and TikTok uses watch-through rate as its primary signal for content promotion. A reel that holds viewers to the end gets pushed to more feeds. Every editing decision should serve that goal.
-
Open with an emotional hook. The first 3 seconds determine whether a viewer stays or scrolls. Use a surprising visual, a bold statement, or a question that creates immediate curiosity.
-
Keep the total length in the optimal range. Reels between 21 and 34 seconds consistently outperform longer formats for engagement. Shorter videos are easier to watch to completion, which signals quality to the algorithm.
-
Cut silences and filler without mercy. Aggressively removing dead air improves watch-through rate, which is the metric that triggers algorithmic promotion. Every second of silence is a second where a viewer might scroll away.
-
Use trending audio. Both Instagram and TikTok give a visibility boost to reels that use audio from their trending libraries. Match the audio energy to your pacing.
-
End with a clear call-to-action. Tell viewers exactly what to do next: save the video, follow for more, or comment with their answer to a question. Vague endings waste the engagement momentum you built.
-
Cater to muted viewers. Multiple quick visual changes combined with captions serve the majority of viewers who watch without sound. Your reel should communicate its full message visually.
“A strong hook followed by proof and a clear call-to-action is the structure behind every high-performing reel.”
Key takeaways
Vertical video editing for reels requires the right technical setup, tight pacing, and captions to hold viewer attention and earn algorithmic promotion.
| Point | Details |
|---|---|
| Use correct specs | Set your project to 1080×1920 pixels at 9:16 before importing any footage. |
| Hook in 3 seconds | Open with your most compelling visual or statement to prevent early drop-off. |
| Caption every reel | 85% of viewers watch muted, so captions are required for full engagement. |
| Pace every 2–4 seconds | Refresh a visual element at least every four seconds to maintain watch-through rate. |
| Pre-compress before upload | Run your export through Handbrake to prevent platform compression from degrading quality. |
What I have learned from editing hundreds of vertical reels
The biggest shift in my thinking came when I stopped treating vertical video as a cropped version of horizontal content. Vertical is its own format with its own grammar. The frame is tall and narrow, which means your subject needs to fill it intentionally, not accidentally.
The technique most creators underrate is the jump cut. A clean jump cut inside a single clip, where you remove a pause or a stumble, creates energy without needing a transition effect. Viewers rarely notice the cut. They only notice that the speaker feels sharp and confident. That perception directly improves how they rate the content.
I also learned that captions do more than serve muted viewers. They give the algorithm text to read and index. A reel with accurate, well-positioned captions gets categorized faster and shown to more relevant audiences. That is a free SEO benefit most creators ignore.
The creators I see improve fastest are the ones who share their script drafts early and get feedback before they shoot. Fixing a weak hook in a script takes two minutes. Fixing it in post takes twenty. Invest in the writing before you invest in the edit.
Efficiency and creativity are not opposites. A tight workflow, correct specs from the start, and a consistent structure actually free you to be more creative because you are not solving technical problems mid-edit. Get the foundation right, then let the content do the work.
— Mandrixx
Kudoflix makes vertical video creation faster
Editing reels gets significantly easier when your tool is built for the format from the start. Kudoflix is a browser-based video editor that requires no download or installation. It supports vertical video formats natively, includes a library of templates and transitions designed for social media, and exports in reel-ready settings with one click.
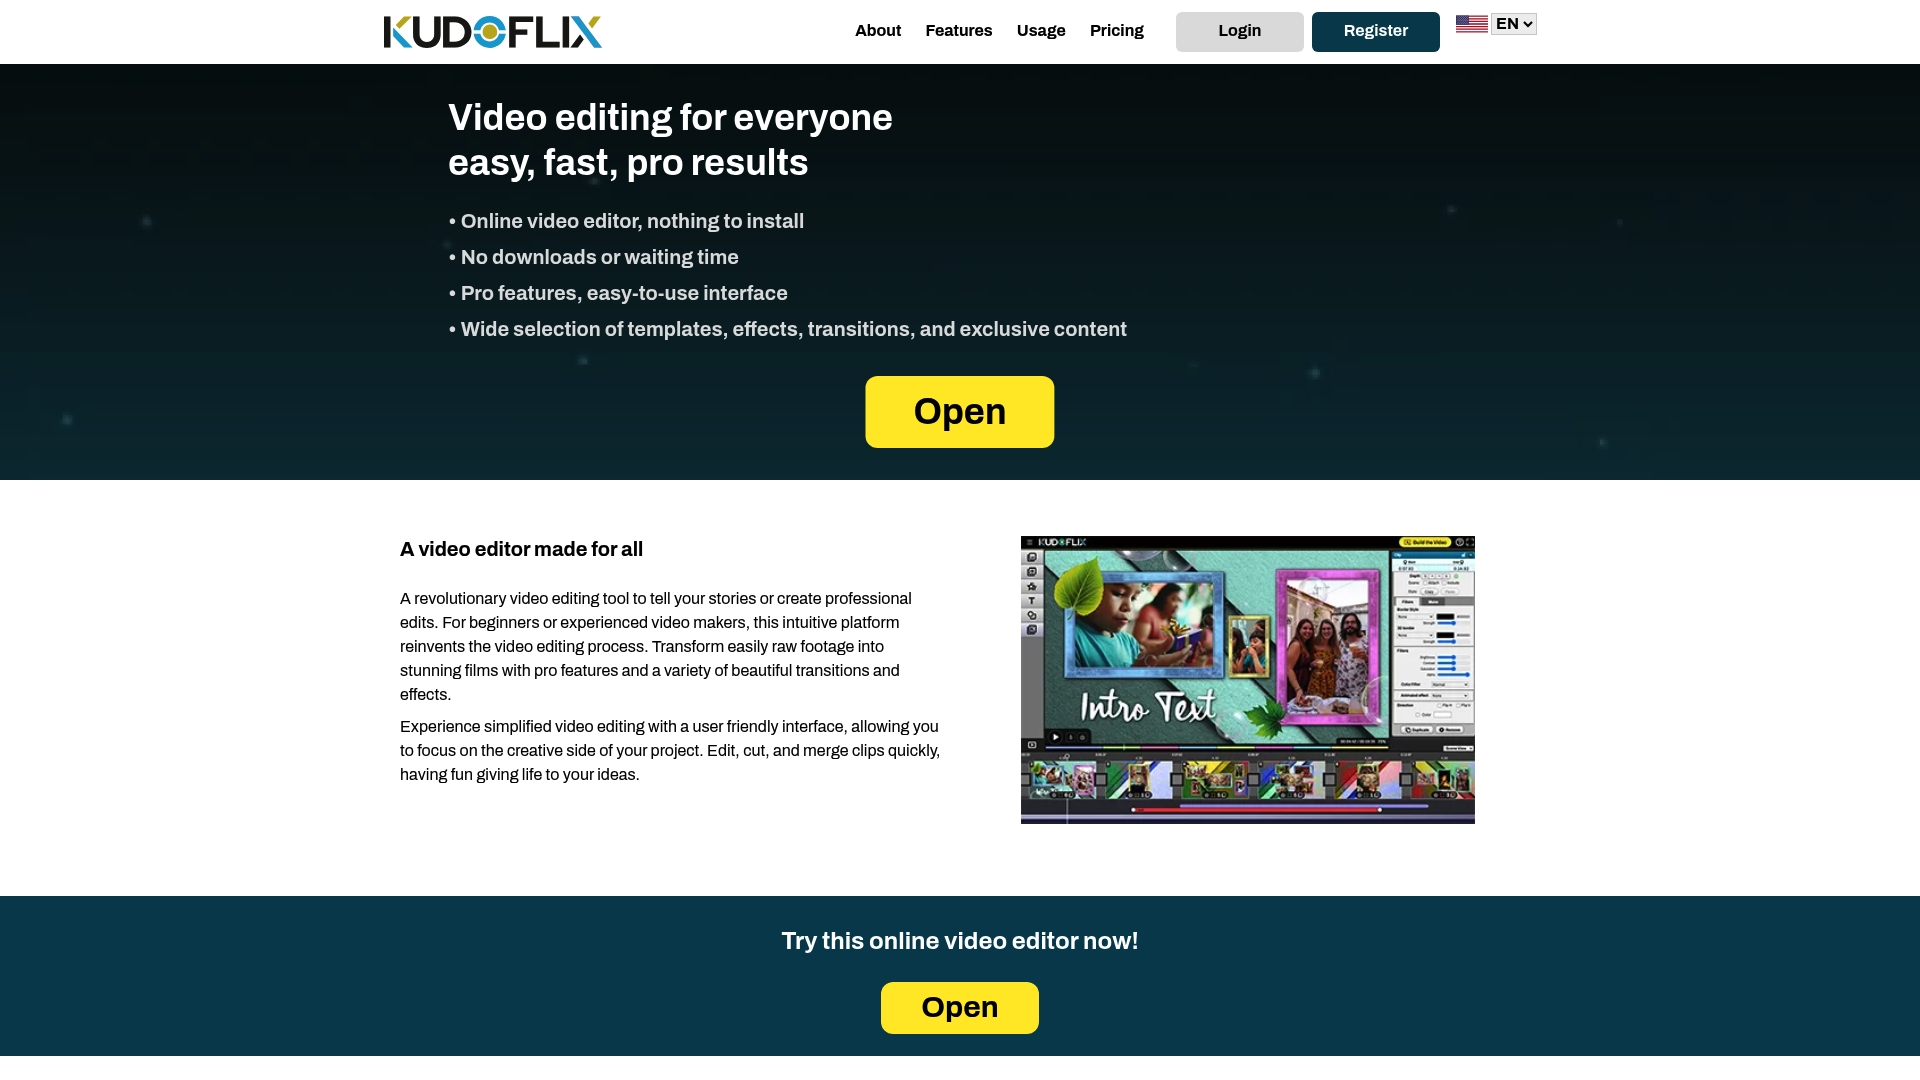
Whether you are a marketer producing weekly content or a creator building an audience from scratch, Kudoflix removes the technical friction that slows most editors down. Fast processing, an accessible interface, and social-ready export settings mean you spend more time on the creative work and less time troubleshooting settings. Try the Kudoflix video editor and see how much faster your next reel comes together.
FAQ
What aspect ratio do reels require?
The standard aspect ratio for Instagram Reels and TikTok is 9:16 at 1080×1920 pixels. This fills the full mobile screen and meets both platforms’ technical requirements.
How long should a reel be for maximum engagement?
Reels between 21 and 34 seconds consistently perform best for engagement and watch-through rate. Shorter videos are easier for viewers to complete, which signals quality to the algorithm.
Do reels need captions?
Yes. 85% of viewers watch reels with sound muted, so captions are required to communicate your message to the majority of your audience.
What is the safe zone in vertical video editing?
The safe zone is the area of the frame that stays visible despite platform UI overlays. Place subjects in the upper center and keep captions in the middle third to prevent them from being hidden.
Is 4K better than 1080p for reels?
No. Platform bitrate caps compress 4K footage down anyway, making 1080p the optimal resolution for vertical reels. It produces smaller files and no visible quality difference after upload.
Recommended



[…] Vertical Video Editing for Reels: 2026 Creator Guide – Kudoflix Video Editing […]