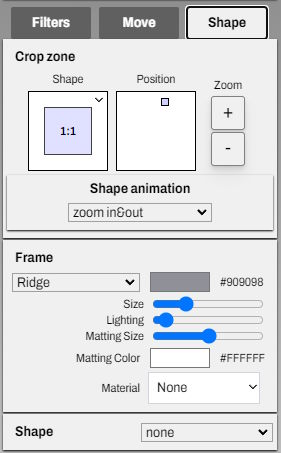
This area allows you to define a shape and decoration for a photo or video element.
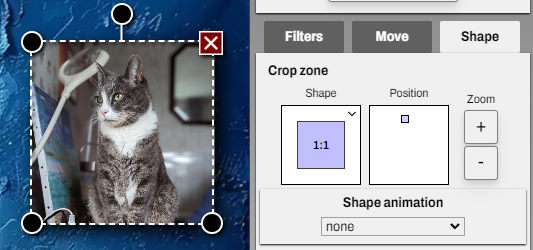
For example, you can change an element to a square shape by opening the selector under the word 'Shape' and selecting the 1:1 ratio.
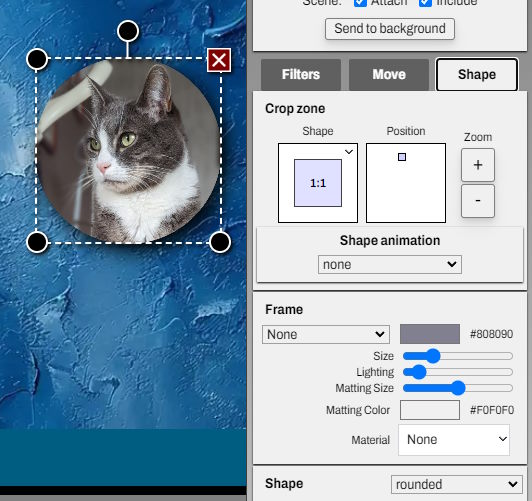
An additional Shape selector is available at the bottom, intended for the border shape, allowing you to change the square into a circle, for example. This can be combined with the ratio chosen earlier.
The position selector allows you to move the photo or video within the shape to center the subject.
The position selector allows you to move the photo or video within the shape to center the subject.
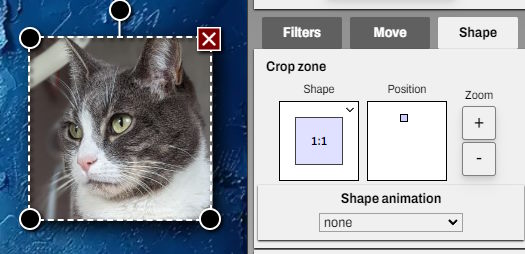
The position selector allows you to move the photo or video within the shape.
The shape animation allows the image design within the shape to evolve around the desired position.
The shape animation allows the image design within the shape to evolve around the desired position.
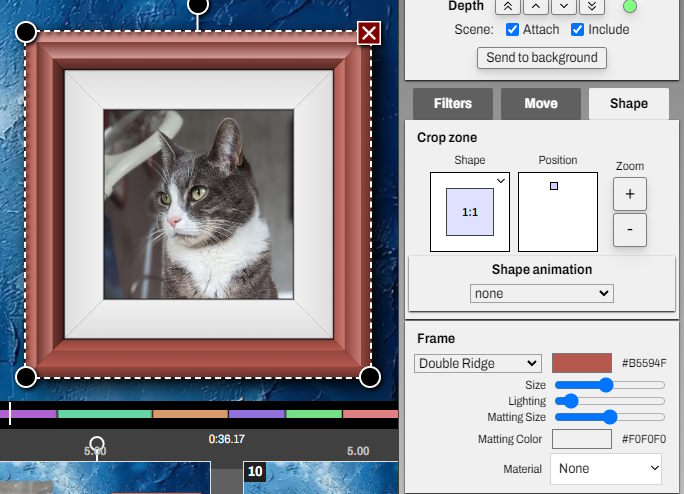
The frame section allows you to add a frame to your photo or video.
You first choose a frame style, which refers to the texture of the frame, similar to physical photo frames.
You can change the frame color and its size relative to the photo size.
Lighting can be adjusted to either enhance or soften the light effects that accentuate the frame's texture.
The mat size can be adjusted or even removed entirely. The mat is the part between the frame and the photo in a traditional frame. In the real world, it's typically the white paper or fabric found between the wooden frame and the photo.
The mat color can also be changed. Best results are usually achieved with very light or very dark colors to make the photo stand out.

For added realism, you can select a material for the frame, such as wood, plastic, metal, or fabric.
The material can also be tinted with the chosen color. Select a medium gray to avoid any tint.
The material can also be tinted with the chosen color. Select a medium gray to avoid any tint.


