

Step-by-step tutorial video editing is the process of transforming raw footage into a polished final product by following a fixed sequence of editing operations. Searches for beginner video editing resources increased 125% year-over-year as of 2026, which tells you one thing clearly: more people are moving past amateur footage and need a real workflow, not scattered tips. This guide gives you exactly that. You will walk through every stage from import to export, learn the techniques that affect pacing and audio, and avoid the mistakes that waste hours of editing time.
What tools do you need for beginner-friendly video editing?
The right setup matters before you touch a single clip. Free professional-grade tools have eliminated software cost as a major barrier, which means the largest hurdle now is learning the fundamentals, not paying for access. Browser-based platforms like Kudoflix require no downloads or installations, making them a practical starting point for individuals and small teams who want to get editing immediately.
Hardware and file organization
Your computer needs at least 8GB of RAM to handle standard 1080p footage without constant buffering. For 4K editing, 16GB or more is the practical minimum. Storage matters too: keep your raw footage, project files, and exports in separate folders from day one. Disorganized files are the single fastest way to lose hours on a project.
Software categories to consider
| Category | Best for | Example approach |
|---|---|---|
| Browser-based platforms | Beginners, small teams, no install | Kudoflix |
| Entry-level desktop apps | Learners who prefer offline editing | Free desktop editors |
| Professional desktop suites | Advanced users, complex projects | Industry-standard NLEs |
Pro Tip: Learn five keyboard shortcuts before you learn anything else. The J/K/L keys control playback speed and direction in most editors. The I and O keys mark in and out points. Keyboard shortcuts can make your editing 2–3 times faster than working with a mouse alone.
Optional tools worth adding early include a transcription tool to create text-based edit lists and a simple noise reduction plugin for audio cleanup. Neither is required, but both save meaningful time once your projects grow past a few minutes.
What are the essential steps in the video editing workflow for beginners?
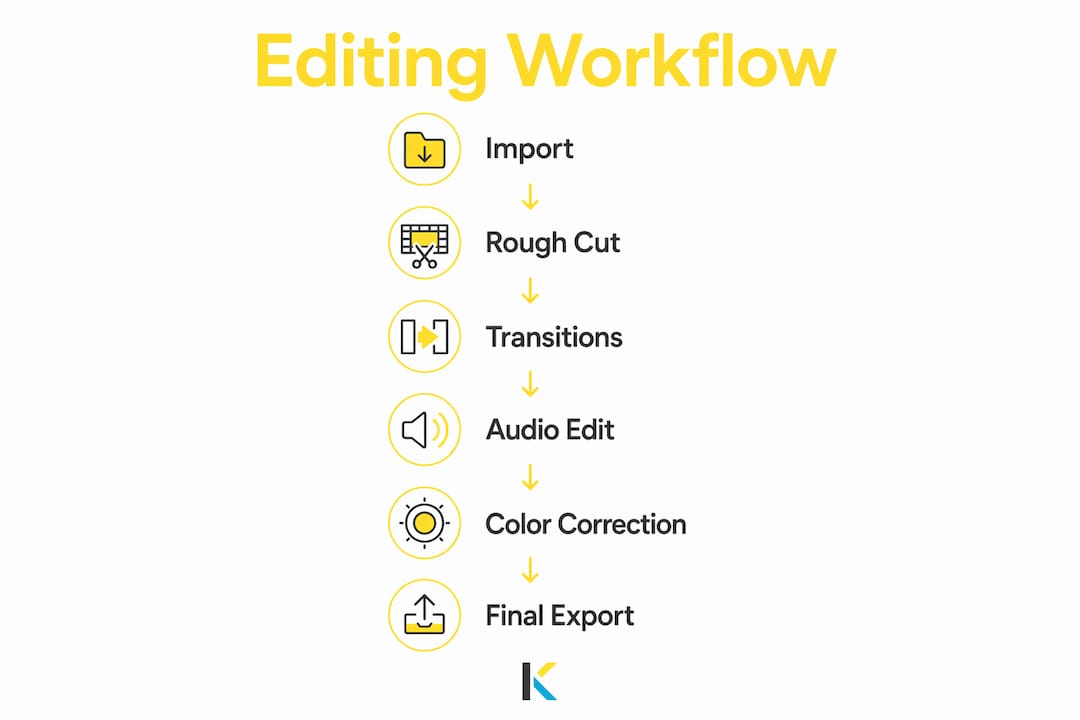
A structured 8-step workflow saves 30–40% of total editing time by eliminating redundant revisions and focus-switching. That number is significant. Most beginners lose hours by jumping between polishing one clip and restructuring the whole sequence. Following the steps in order prevents that entirely.
The 8-step editing sequence
-
Import your footage. Bring all raw clips, audio files, and graphics into your project. Label everything before you start cutting. A clip named “interview_take3_final” is easier to find than “clip0047.”
-
Review and log your clips. Watch every clip once and mark the usable sections. Note the best takes and flag unusable footage. This step feels slow but saves far more time later.
-
Build the assembly cut. Place your selected clips on the timeline in rough story order. Do not worry about timing or transitions yet. The goal is a complete, rough version of the story.
-
Create the fine cut. Tighten the assembly cut by trimming dead space, removing repeated content, and refining the sequence. Start your rough cut 20–40% longer than your target length. This gives you room to shape the story before you tighten.
-
Edit the audio. Sync any separately recorded audio, balance levels, and apply noise reduction. Audio is not a finishing step. It belongs in the middle of the workflow because bad audio can force you to restructure entire sequences.
-
Apply color correction and grading. Color correction fixes exposure and white balance problems. Color grading adds a visual style on top of a corrected image. Do correction first, grading second, always.
-
Add titles, graphics, and effects. Lower thirds, text overlays, and transitions go in after the picture is locked. Adding them earlier wastes time when the edit changes.
-
Export and review. Choose the right export settings for your delivery platform. Then watch the full exported file on at least two different devices before calling it done.
Pro Tip: Complete the rough cut before you polish anything. Editors who refine individual clips before the full sequence is assembled almost always restructure later and redo the work.
Basic video editing competency, meaning clean rough cuts and simple transitions, requires 5–10 hours of practice. Professional fluency takes over 200 hours across 20–30 finished projects. The workflow above is the fastest path to both milestones.
How do you apply pacing, audio, and color correction techniques?
Pacing, audio quality, and color correction are the three skills that separate watchable videos from forgettable ones. Each requires a different mental approach, and beginners typically underinvest in all three.
Trimming and pacing
Every clip has a natural entry point and exit point. The entry point is the first frame where something meaningful happens. The exit point is the last frame before the action ends or the speaker finishes their thought. Cutting on these points creates momentum. Leaving dead space before or after them kills it.
Pacing is the rhythm created by cut length and clip sequence. Fast cuts create energy. Slower cuts create weight and emphasis. Match your pacing to the emotional tone of the content, not to a personal preference for speed.
Audio editing essentials
- Sync audio first. If you recorded audio separately, sync it to the video before any other audio work. Out-of-sync audio cannot be fixed by volume adjustments.
- Balance levels. Dialogue should sit around -12 to -6 dB. Music and ambient sound should sit lower, typically -18 to -24 dB, so they support rather than compete with speech.
- Apply noise reduction. Most editing platforms include a basic noise reduction filter. Apply it to dialogue tracks recorded in imperfect environments.
- Use J-cuts and L-cuts. A J-cut lets audio from the next clip start before the video cuts. An L-cut lets audio from the current clip continue into the next video. Both techniques create smooth, professional-feeling transitions.
Audio quality is more critical to viewer retention than visual steadiness. Viewers tolerate shaky footage far longer than they tolerate distorted or unbalanced sound.
Pro Tip: Watch a section of your edit with the sound off. If the visual story still makes sense, your pacing is working. If it feels confusing, your cuts are relying too heavily on audio to carry the narrative.
Color correction versus color grading
Color correction is a technical fix. It adjusts exposure, contrast, and white balance so the image looks natural and consistent across clips. Color grading is a creative choice. It applies a look, such as a warm tone for a travel video or a cool desaturated palette for a documentary. Always correct before you grade. Grading a poorly corrected image produces results that look off even when the style is intentional. You can find a full breakdown of color filters and effects in Kudoflix’s documentation if you want to see how these tools work in practice.
What are the most common beginner mistakes in video editing?
Most beginner mistakes fall into three categories: poor organization, neglected audio, and overused effects. Recognizing them early saves significant rework.
- Skipping the logging step. Editors who skip reviewing their footage before cutting spend twice as long searching for the right take mid-edit.
- Polishing before the sequence is locked. Applying color grades and effects to clips that later get cut is pure wasted effort.
- Overusing transitions. A hard cut is almost always the right choice. Wipes, spins, and flash transitions draw attention to themselves and away from the content.
- Ignoring audio until the end. Audio problems discovered at the export stage often require restructuring the entire sequence.
- Watching tutorials instead of editing. Completing your first 3–5 minute project teaches more than hours of passive tutorial watching. This trap is common enough that editors call it “tutorial hell.”
For a deeper look at pitfalls specific to new editors, the beginner mistakes guide on Kudoflix covers the most frequent issues and how to fix them.
“Watching the full exported video on multiple devices and with sound off can reveal export errors and pacing issues that go completely unnoticed during editing. Always review the final file, not just the timeline preview.”
Export problems are also common. If your exported file looks different from your timeline preview, check your export settings against your sequence settings. Mismatched frame rates and color space settings cause most of these issues. Reviewing the export on a phone, a laptop, and a TV screen catches problems that a single monitor misses. Final export review on multiple devices is standard practice among professional editors for exactly this reason.
Key Takeaways
A structured editing workflow is the single most effective tool for producing quality video faster, regardless of your experience level.
| Point | Details |
|---|---|
| Follow the 8-step workflow | Working in sequence saves 30–40% of editing time by preventing redundant revisions. |
| Prioritize audio early | Fix sync and levels in the middle of the workflow, not at the end, to avoid restructuring later. |
| Build a longer rough cut | Start 20–40% longer than your target length to shape the story before tightening. |
| Use keyboard shortcuts | J/K/L and I/O shortcuts make editing 2–3 times faster than mouse-only work. |
| Finish a real project | Completing one 3–5 minute video teaches more than hours of passive tutorial watching. |
Why workflow beats talent every time
Video editing is a craft built on sequence and discipline, not on creative instinct. I have seen editors with genuine visual talent produce mediocre work because they had no workflow. I have also seen complete beginners produce clean, watchable videos within their first week because they followed a process and stuck to it.
The insight that changed how I think about editing is this: video editing is disciplined workflow, not magic. The editors who look talented are usually just the ones who have internalized a reliable sequence of operations. They do not skip steps. They do not polish before the structure is locked. They review their exports on multiple devices.
My honest advice is to finish something before you feel ready. The first project will be imperfect. That is the point. Hands-on project completion builds skill and confidence faster than any tutorial series. Pick a 2–3 minute clip, follow the 8-step workflow, export it, and watch it on your phone. You will learn more from that one experience than from a month of passive learning.
Patience with the process matters more than speed. Every editor I respect talks about their early work the same way: it was rough, it was instructive, and it was necessary. Embrace that stage. The skills compound quickly once the workflow becomes habit. If you want to understand how video visibility connects to the editing decisions you make, the video SEO guide from Babylovegrowth is worth reading alongside your editing practice.
— Mandrixx
Kudoflix makes the first edit less intimidating
Starting your first real project is easier when the tool does not get in the way. Kudoflix is a browser-based video editor that requires no download and no installation. You open it, import your footage, and start cutting.
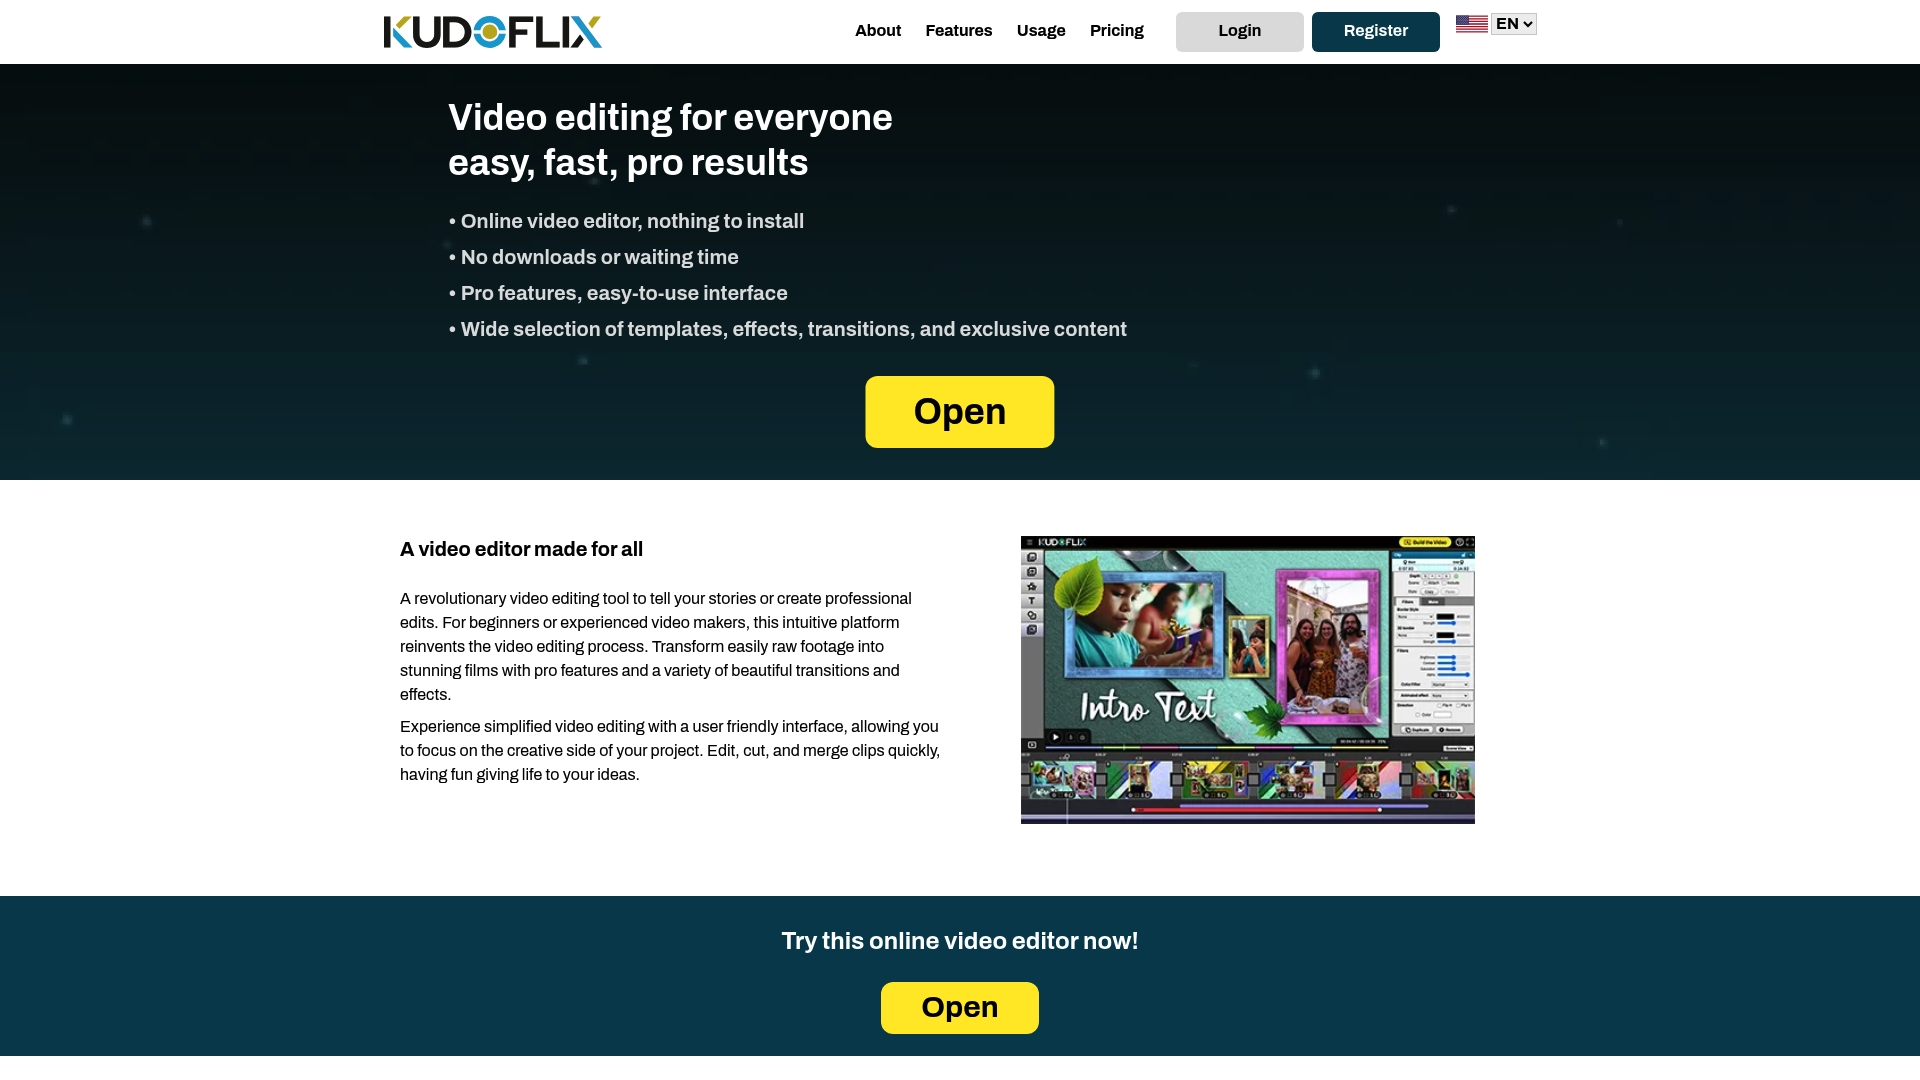
The platform includes an extensive library of free video templates, built-in transitions, and visual effects that beginners can apply in a few clicks. For small teams working on business presentations, social media clips, or personal projects, Kudoflix offers a simple path to professional results without the steep learning curve of traditional desktop software. The architecture processes footage quickly, so you spend time editing rather than waiting. If you want to see what the editor can do before committing, the Kudoflix video examples page shows finished projects made with the platform.
FAQ
How long does it take to learn basic video editing?
Basic competency, including rough cuts and simple transitions, requires 5–10 hours of practice. Professional-level fluency takes over 200 hours across multiple finished projects.
What is the most important step in the editing workflow?
The assembly cut is the foundation of every edit. Building a complete rough sequence before polishing any individual clip saves the most time and prevents structural rework.
Why does audio matter more than visuals for beginners?
Viewers tolerate shaky or imperfect footage far longer than they tolerate distorted or unbalanced audio. Prioritizing audio sync and level balance early in the workflow protects viewer retention.
What is “tutorial hell” in video editing?
Tutorial hell is the habit of watching editing tutorials instead of completing actual projects. Finishing a real 3–5 minute video provides more practical learning than hours of passive viewing.
How do I check my exported video for errors?
Watch the full exported file on at least two different devices, including a phone and a laptop, and view one pass with the sound off. This catches export setting mismatches and pacing problems that a single monitor misses.
Recommended