

Beginner video editing best practices are foundational workflows and techniques that help new editors produce polished videos quickly, without needing advanced software skills. The industry term for this approach is non-linear editing workflow, and mastering it starts with three pillars: organized footage, disciplined cutting, and clean audio. Basic editing competency arrives within 5–10 hours of focused practice. That benchmark matters because it tells you the barrier to entry is low. You do not need months of training to make a video that looks and sounds professional. You need the right habits from day one.
1. Beginner video editing best practices start with organized footage
Disorganized footage is the single biggest time killer in editing. Before you import a single clip, create a folder structure with four categories: raw footage, audio, graphics, and exports. Label every clip meaningfully inside your editing software. Use terms like “A-roll” for your main talking-head footage, “B-roll” for supporting visuals, and “cutaway” for reaction or detail shots.
Professional editors allocate 30–50% of total project time to reviewing and selecting raw footage before they make a single cut. That upfront investment prevents the frustration of hunting for the right clip mid-edit. Think of it as mise en place for video: everything in its place before you start cooking.
- Create four top-level folders: Raw, Audio, Graphics, Exports
- Label clips with scene, take, and type (e.g., “Interview_Take3_Aroll”)
- Use project bins or folders inside your editing software to mirror your file structure
- Mark your best takes with a star or color flag before editing begins
- Delete obvious unusable clips immediately to reduce clutter
Pro Tip: Learn keyboard shortcuts like I and O to mark in and out points on clips. Muscle memory from shortcuts like J/K/L for playback cuts your review time in half.
Workflow discipline and organization separate professional editors from beginners more than any creative skill. Build the habit early and every future project gets faster.

2. Essential cutting techniques every beginner should master
The straight cut is the foundation of professional editing. 80–90% of cuts in professional work are straight cuts, with no transition effect at all. Beginners often reach for wipes and dissolves to hide weak edits. The truth is that a well-timed straight cut is invisible, and an unnecessary transition draws attention to itself.
Cutting on motion produces the smoothest edits. When your subject raises their hand, cut at the peak of the movement. The viewer’s eye follows the action and never notices the edit. This technique alone makes beginner footage look significantly more polished.
Two audio-based cuts are worth learning early: the J-cut and the L-cut. A J-cut lets the audio from the next clip start before the video switches. An L-cut lets the audio from the current clip continue after the video has moved on. Both techniques create a sense of flow that straight cuts alone cannot achieve.
- Use straight cuts for at least 80% of your edits
- Cut on action whenever your subject is moving
- Apply J-cuts and L-cuts to smooth audio transitions between scenes
- Trim pauses, filler words, and dead air aggressively
- Never cut mid-syllable or on a breath
Cutting mid-word or on a breath creates an audible jolt that pulls viewers out of the video. Always cut at the end of a sentence or just before a breath for a clean transition.
Pro Tip: Watch the first five minutes of any documentary and count the cuts. You will find almost no transitions. That restraint is the technique.
3. How to manage audio for professional-sounding videos
Audio quality determines whether viewers stay or leave. Poor audio drives viewers away faster than shaky footage or bad lighting. Using noise reduction, high-pass filters, and proper mixing dramatically improves how professional a video feels, even when the visuals are average.
Normalize your dialogue levels to between -12 and -6 dB. Keep background music lower, in the range of -18 to -30 dB. This separation gives your voice room to breathe and prevents music from competing with speech. A high-pass filter set around 80–100 Hz removes low-frequency rumble from air conditioners, traffic, and handling noise.
Separate audio tracks for dialogue, music, and effects give you independent control over each element. When you need to raise the music for a dramatic moment or duck it under dialogue, separate tracks make that adjustment take seconds instead of minutes.
- Normalize dialogue to -12 to -6 dB
- Set background music between -18 and -30 dB
- Apply a high-pass filter at 80–100 Hz to remove low-end rumble
- Use a de-esser to soften harsh “s” and “sh” consonants
- Place dialogue, music, and sound effects on separate tracks
- Add short audio fades at the start and end of every clip
Audio fades at clip edges prevent clicks and harsh transitions. This detail is easy to overlook but immediately noticeable when missing.
Pro Tip: Close your eyes and listen to your edit before you export. If anything sounds jarring, fix it before touching the visuals.
4. Color correction and grading: fix first, style second
Color correction and color grading are two different steps, and beginners often confuse them. Correction fixes technical problems: exposure, white balance, and contrast. Grading adds a stylistic look on top of a corrected image. Skipping correction and jumping straight to grading produces inconsistent visuals across clips.
Start every clip by matching exposure and white balance to a neutral baseline. Use your software’s histogram or waveform scope to guide corrections rather than trusting your monitor alone. Monitors vary in brightness and color accuracy, so scopes give you objective data.
Once all clips are corrected and consistent, apply a LUT (Look-Up Table) to add a unified color style across the entire edit. LUTs are preset color transformations that give your footage a cinematic or branded look in one click. Kudoflix includes color filters and effects that work the same way, letting you apply a consistent look without manual grading.
- Correct exposure and white balance before any creative grading
- Use histograms and waveform scopes, not just your monitor
- Apply LUTs after correction for a unified stylistic look
- Avoid crushing blacks or over-saturating colors in early edits
- Save advanced color techniques until you are comfortable with the basics
Restraint matters here as much as it does with cuts. A subtle, consistent grade looks more professional than an aggressive filter applied unevenly.
5. Exporting your video with the right settings
Export settings are where many beginners lose quality they worked hard to create. Every platform recompresses your video on upload. If you export at too low a bitrate, the platform’s compression compounds the quality loss and your video looks soft or blocky.
YouTube prefers H.264 at 1080p and 24–30 fps as a standard export format. That combination balances file size with quality and survives YouTube’s recompression well. For short-form platforms like TikTok and Instagram Reels, the same codec works, but vertical framing (9:16 aspect ratio) is required. Tailoring exports per platform is not optional if you care about quality. One generic export file for all destinations will always underperform.
| Platform | Resolution | Format | Frame Rate |
|---|---|---|---|
| YouTube | 1080p | H.264 MP4 | 24–30 fps |
| Instagram Reels | 1080 x 1920 | H.264 MP4 | 30 fps |
| TikTok | 1080 x 1920 | H.264 MP4 | 30 fps |
| 1080p | H.264 MP4 | 24–30 fps | |
| Vimeo | 1080p | H.264 or H.265 MP4 | 24–30 fps |
- Export a separate file for each target platform
- Use H.264 MP4 as your default codec for broad compatibility
- Set bitrate high enough to preserve sharpness before platform compression
- Test your export on a phone screen before publishing
- Check that audio levels hold after export, as some platforms normalize loudness automatically
For creators focused on video visibility and reach, matching export settings to platform specs is the first technical step toward better performance in search and recommendations.
6. Building good habits that compound over time
The fastest path to better editing is not a better tool. It is consistent practice with the fundamentals. Beginners reach intermediate fluency after 30–50 hours of editing. That means roughly one focused project per week for two to three months gets you to a level where editing feels natural rather than labored.
Every project should reinforce the same core habits: organize before you edit, cut with restraint, fix audio before you grade, and export for the platform. Beginners who skip steps early develop bad habits that slow them down later. The step-by-step workflow matters more than the software you use.
Short-form content is a particularly effective practice format. Editing a 60-second video forces you to make every cut count, tighten pacing aggressively, and solve audio problems in a compressed timeline. Short-form video editing builds the same core skills as long-form work, but the feedback loop is faster.
Avoid the trap of chasing effects and transitions before mastering cuts. Editors who limit transitions create clearer stories that retain viewers longer. Effects are a finishing layer, not a substitute for strong editing fundamentals.
Key Takeaways
The most effective beginner video editing approach combines organized footage, straight cuts, clean audio, and platform-specific exports, not advanced effects or expensive software.
| Point | Details |
|---|---|
| Organize before you edit | Create folder structures and label clips before importing to save time and avoid confusion. |
| Straight cuts dominate | Use straight cuts for 80–90% of edits; transitions should be rare and purposeful. |
| Audio drives quality | Normalize dialogue to -12 to -6 dB and separate tracks for dialogue, music, and effects. |
| Correct before you grade | Fix exposure and white balance on every clip before applying any stylistic color look. |
| Export per platform | Use H.264 MP4 at 1080p for most platforms and tailor aspect ratio and frame rate per destination. |
What I have learned from watching beginners edit
Most beginners spend their first hours hunting for the right transition or effect. The editors who improve fastest do the opposite. They obsess over cuts and audio, and they treat effects as a last resort. That gap in focus explains most of the quality difference between a beginner’s first video and their tenth.
The 5–10 hour benchmark for basic competency is real, but it only applies if you practice deliberately. Editing the same type of content repeatedly without reviewing your mistakes does not build skill. Watch your finished videos critically. Identify the one moment that feels slow or the one audio cut that sounds rough. Fix that specific problem in the next project.
Audio is the area where beginners consistently underinvest. A video shot on a phone with clean audio sounds more professional than a video shot on a cinema camera with bad audio. That is not an exaggeration. Viewers forgive imperfect visuals. They do not forgive audio that makes them strain to understand speech.
The tools matter less than the habits. I have seen impressive work produced on free browser-based editors and mediocre work produced on professional desktop software. What separates them is always workflow discipline, not the price of the software. Build the habits first. The tools will follow.
— Mandrixx
Kudoflix makes the first edit less intimidating
Starting your first real edit should not mean fighting with software. Kudoflix is a browser-based video editor that requires no download or installation, so you can apply the techniques in this article immediately without a setup barrier.
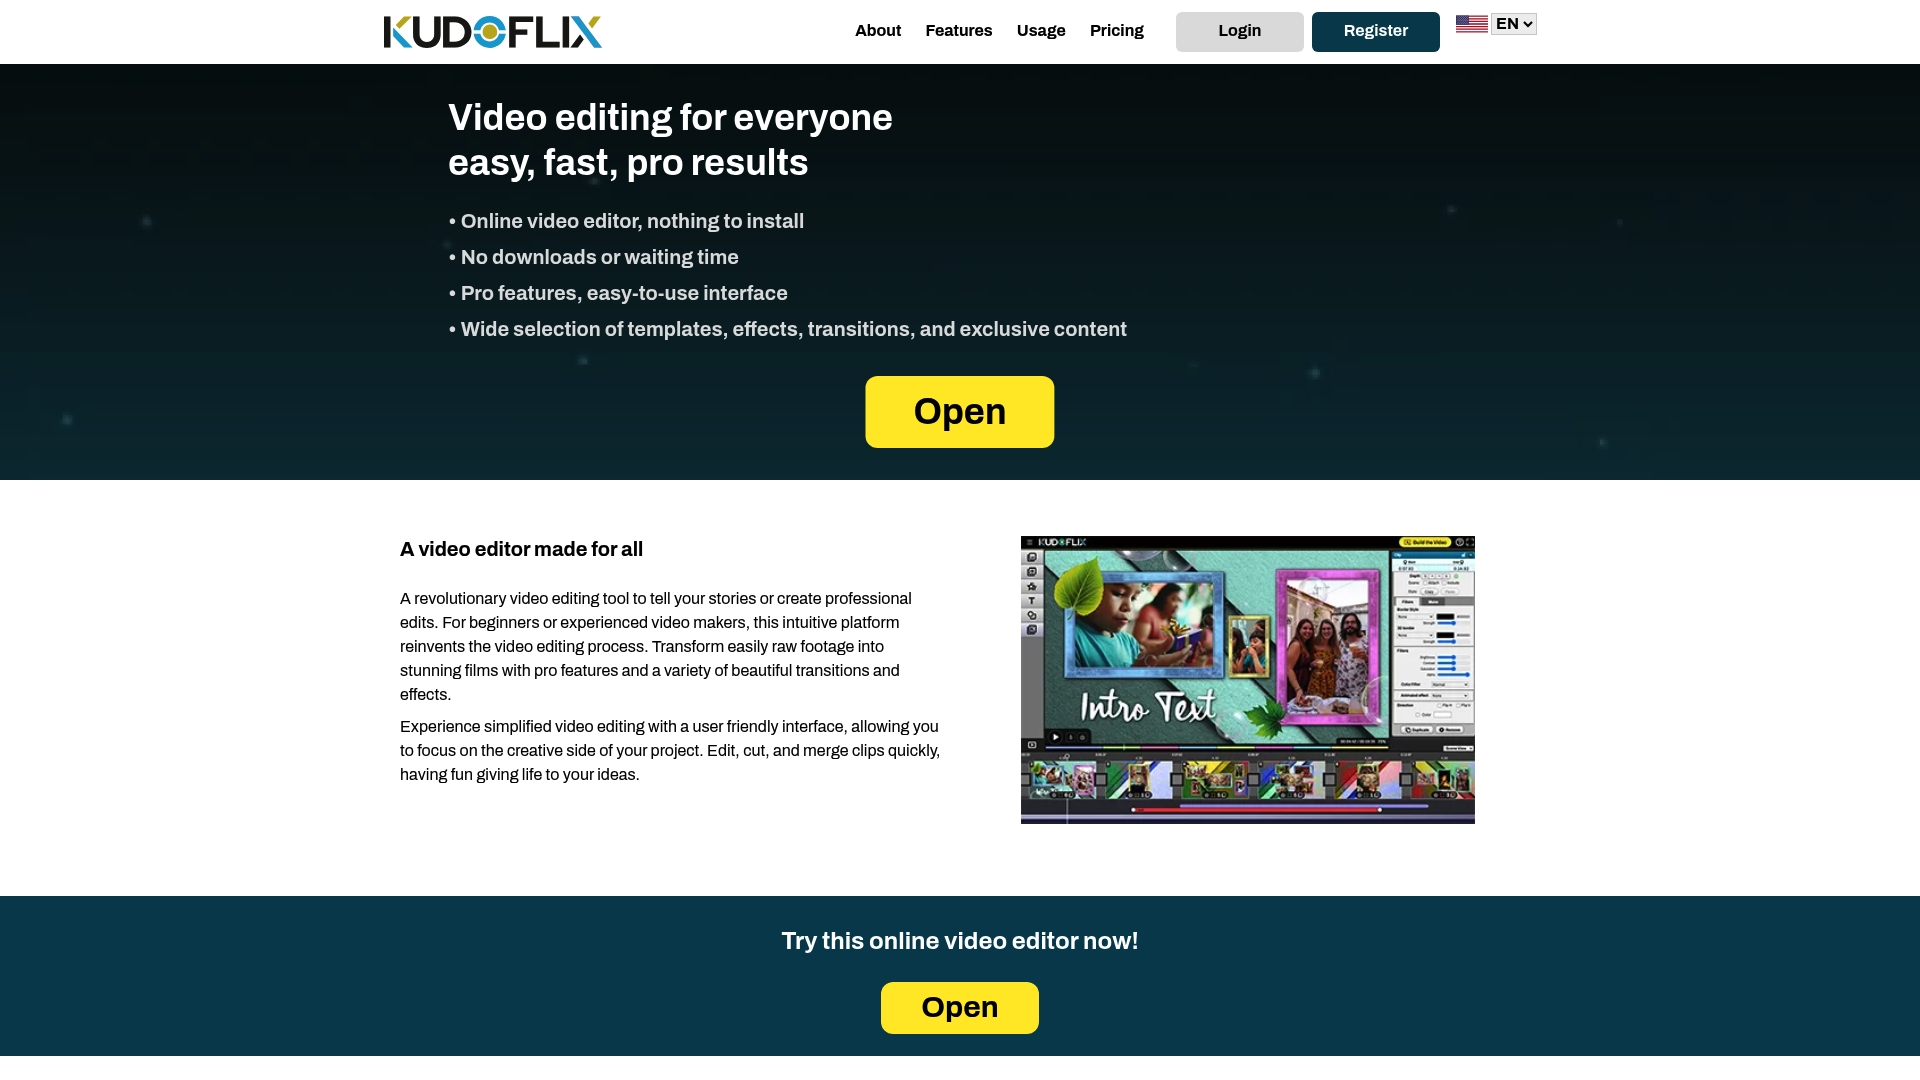
Kudoflix includes a full library of free video templates that give beginners a structured starting point, plus effects, transitions, and text tools accessible in a few clicks. The platform handles fast processing so your workflow stays fluid. Whether you are editing a social media clip or a short film, Kudoflix gives you professional tools without the complexity that slows most beginners down. Try the online video editor and put these best practices to work today.
FAQ
What are the most important video editing basics for beginners?
The three most important basics are organized footage, straight cuts, and clean audio. Master these before adding effects or advanced color grading.
How long does it take to learn video editing?
Basic competency takes 5–10 hours of practice. Intermediate fluency requires 30–50 hours, and professional-level skill demands 200 or more hours.
What is the difference between color correction and color grading?
Color correction fixes technical issues like exposure and white balance. Color grading adds a stylistic look on top of a corrected image. Always correct before you grade.
What export format works best for most platforms?
H.264 MP4 at 1080p and 24–30 fps works for YouTube, Instagram, TikTok, and Facebook. Adjust the aspect ratio to 9:16 for vertical platforms like Reels and TikTok.
How do I avoid common beginner editing mistakes?
Focus on common beginner pitfalls like over-using transitions, skipping audio normalization, and exporting one file for all platforms. Fixing these three habits alone produces a noticeable quality jump.
Recommended