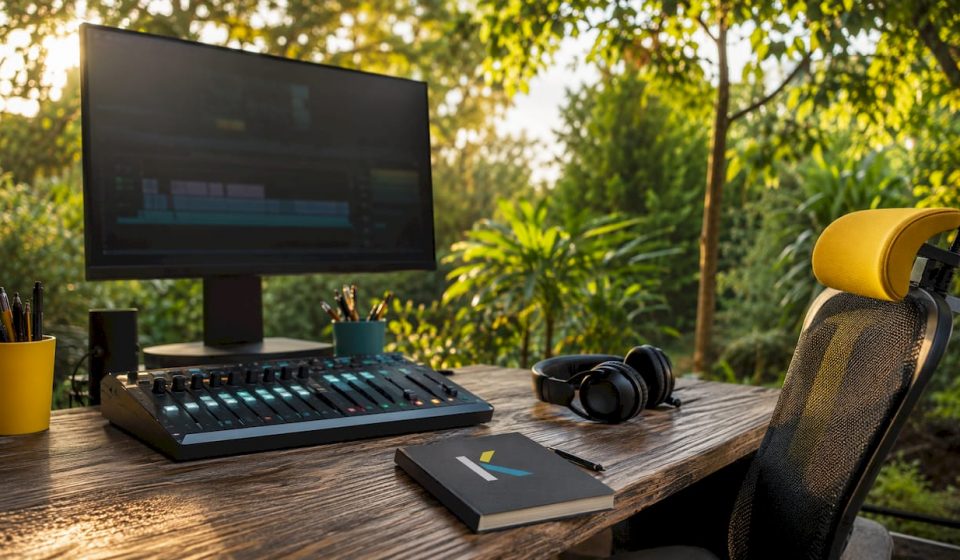

Tight music sync is what separates a polished video from a rough cut that just happens to have a soundtrack. The core techniques are: place timeline beat markers using waveform visualization, use a clapperboard or hand-clap as a sync anchor on set, cut on downbeats rather than every beat, apply J-cuts and L-cuts to smooth transitions, and lock your picture edit before committing to a final music track. Master those five habits and you have the foundation every other technique builds on.
The essential methods at a glance:
- Use waveform visualization to identify sharp transient peaks and place beat markers precisely on the timeline
- Record a clapperboard or loud hand-clap on set to create an unmistakable sync spike for both manual and automated alignment
- Align video cuts to music beats manually or with auto-sync features in DaVinci Resolve or Adobe Premiere Pro
- Apply multicam editing to sync multiple camera angles against a single master audio track
- Cut on downbeats and bars, not every single beat, to maintain pacing and avoid a frenetic feel
- Use J-cuts and L-cuts to offset audio transitions by a frame or two around beat markers for a cinematic result
- Adjust edits manually when tempo changes or irregular rhythms break automated detection
- Run beat detection plugins such as BeatEdit for Premiere Pro or Python-based scripts with librosa for DaVinci Resolve
- Study genre conventions before you edit: hip-hop cuts on beats 1 and 3, house music typically cuts every 4 bars
- Lock the picture edit before placing final music to prevent drift caused by re-trimming
How to sync music and video in DaVinci Resolve and Premiere Pro
Getting the workflow right inside your software matters as much as knowing the theory. Here is how to move from raw footage to a beat-synced timeline without losing hours to manual tapping.
Before you import anything:
- Set every camera and recorder to the same frame rate, whether 24, 29.97, or 60 fps. Mismatched frame rates or audio sample rates cause timing errors that compound across longer edits. The industry standard for video audio is 48 kHz.
- Confirm your project settings match those source files before a single clip lands on the timeline.
Step-by-step sync workflow:
- Import your video clips with scratch audio visible on the timeline, then place the external audio track directly beneath them.
- Zoom tightly into both waveforms until you can see individual peaks. Find the clapperboard or hand-clap transient on each track. Align those peaks frame by frame by dragging the external audio until the spikes match.
- In Premiere Pro, select the video clip and its matching audio in the Project panel, right-click, and choose “Synchronize,” then pick “Audio” as the method. Premiere handles the rough alignment; fine-tune by scrubbing.
- In DaVinci Resolve, go to the Media Pool, select your clips, right-click, and choose “Auto-sync Audio” by waveform. For batch processing dozens of clips, this saves significant time.
- For beat markers, tap M on the keyboard while the music plays to drop markers manually. For automated detection, a Python script using librosa can read beat timestamps and place markers directly on the Resolve timeline. Plugins like BeatEdit handle this inside Premiere without any scripting.
- Organize multicam footage by syncing all angles to the master audio track first, verifying each angle on the same spoken word or action before building the multicam sequence.
- Use the Blade tool to cut video clips at each beat marker. Choose every beat for high-energy sections, every other beat for a cinematic pace, or every 4 beats for a clean montage feel.
- Where tempo shifts or a breakdown arrives, hold shots longer. Rapid cuts through a quiet bridge kill momentum.
- Scrub through the full edit at normal speed, then again frame by frame around key beats. Make micro-timing adjustments where cuts land slightly before or after the kick drum.
Pro Tip: Anchor your audio to the first visible sync event, such as a clap or a door closing, rather than the start of the timeline. This anchor approach keeps all subsequent edits aligned across every clip and audio layer.
Creative effects that make a synced music video feel alive
Tight sync gets you technically correct. These techniques get you emotionally resonant.
Color grading tied to music phases
Color grading is one of the most underused sync tools. Shift your grade at the chorus, not just at a cut. A warm, saturated look during the drop and a cooler, desaturated grade during the verse creates a visual rhythm the audience feels before they consciously notice it. Genre matters here: EDM edits often push high-contrast neon grades, while acoustic or indie content tends toward muted, filmic tones.
Motion graphics that respond to the beat
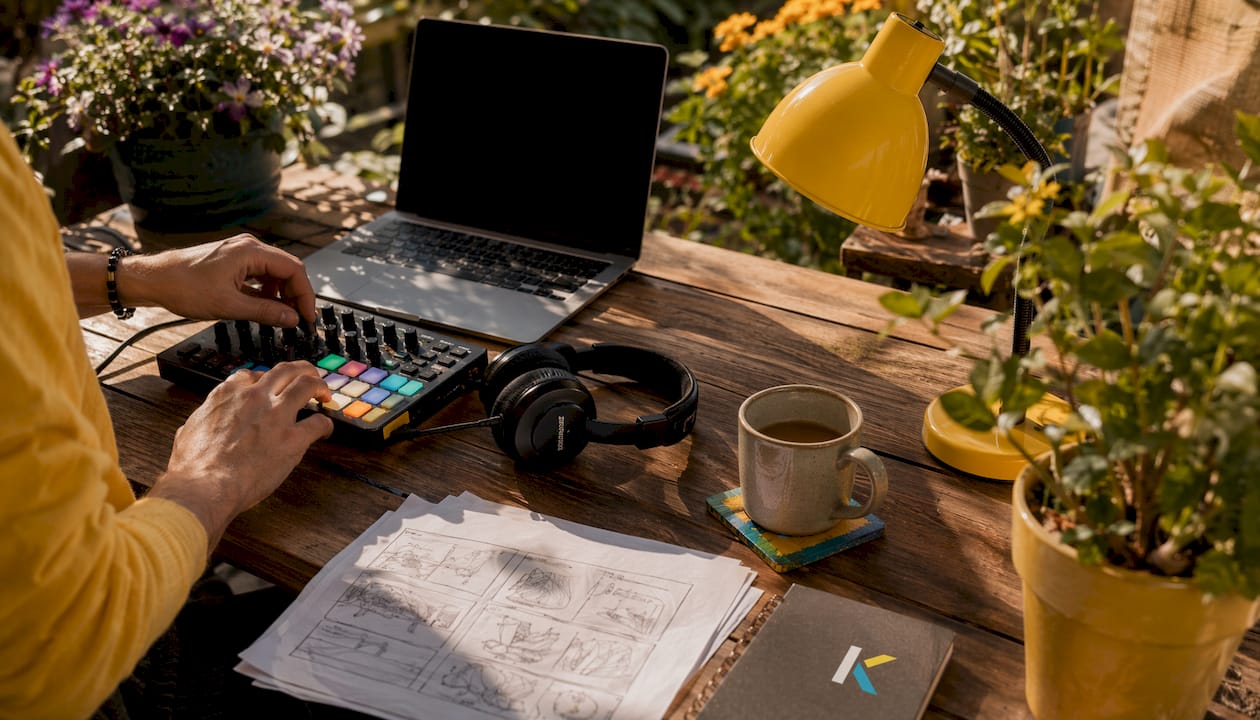
Text animations, logo reveals, and graphic overlays land hardest when they trigger on a downbeat. Keyframe the scale or opacity of a motion graphic element to hit its peak exactly on beat 1 of a bar. Subtle zoom pulses on every kick drum add energy without overwhelming the footage.
J-cuts and L-cuts for smoother transitions
A hard cut directly on the beat is correct but sometimes clinical. Offsetting audio fades by 1–2 frames either side of the beat marker, using a J-cut or L-cut, creates a polished overlap that feels more cinematic than a frame-perfect hard cut. For a deeper look at how these cuts work structurally, the jump cut editing guide from Kudoflix covers the mechanics clearly.
Dynamic pacing: hold the breakdown, unleash the chorus
Cutting on every single beat creates a frenetic montage that works for action sequences but feels exhausting on longer pieces. The professional standard is to hold longer shots through breakdowns and bridges, then release rapid-cut sequences when the track hits the chorus or drop. That contrast is what gives a music video its sense of release.
Save your fastest cuts for the highest-energy moments. A verse that breathes makes the chorus hit harder.
Synchresis: matching motion to pitch
Synchresis is the technique of aligning motion direction with musical pitch changes. When a phrase rises in pitch, cut to a clip that pans upward or contains upward motion. When the melody falls, use downward movement. Viewers rarely notice it consciously, but they feel the alignment. It is one of the subtler tools in professional music video editing and one of the most effective.
Genre-specific effect conventions
Hip-hop edits expect cuts on beats 1 and 3, with flash frames and color burns on accents. EDM content rewards beat-synced zoom pulses and strobe transitions on the drop. Rock and metal edits cut on impacts within shots, then align those impacts to beat markers so each hit lands on the kick. Fighting the genre’s visual language confuses the audience even when the sync is technically perfect.
Beat-synced transitions and overlays
Whip transitions, flash cuts, and light leak overlays all land best when their peak moment hits exactly on a beat. Place the midpoint of a whip transition on the beat, not the start or end. A well-timed visual effect reinforces the rhythm; a mistimed one breaks it.
Balancing effect intensity
More effects do not mean more impact. One beat-synced zoom per section reads as intentional. One per beat reads as noise. Apply effects at structural moments: the first chorus, the drop, the final bar. Let the footage carry the edit everywhere else.
Best practices for a faster, cleaner sync workflow
Efficiency in music sync editing comes from sequencing decisions, not just software speed.
- Lock picture before final music. Every re-trim after music placement risks knocking timing loose. Use rough music while editing; final music goes on last.
- Standardize frame rate and sample rate across every device and project setting before recording begins. Fixing mismatches in post costs far more time than preventing them on set.
- Detect beats once on the final mixed audio. Re-detecting after each edit wastes time and risks drift. Detect on the master, then leave it.
- Treat auto-sync as a starting point. AI beat detection handles the bulk of the work well, but complex tempo changes and irregular rhythms require manual overrides. Correct where the algorithm misreads phrasing.
- Separate audio layers clearly. Voice carries the message, music carries the mood, ambient sound carries realism. When all three fight at the same volume, none wins. Apply ducking to drop music under dialogue and bring it back up when speech stops.
- Test exports on multiple playback systems. Headphones flatten dynamics. Check the final cut on phone speakers and a TV before delivery, since that is how most viewers will watch.
- Use production sync anchors every time. A clapperboard or hand-clap on set is not optional for multi-device shoots. It is the single most reliable way to prevent drift before post-production begins. Understanding the AV equipment involved in your production setup helps you plan those anchors correctly from the start.
- Do final tweaks by hand. Plugins and scripts handle the repetitive work. The last 10% of a beat-synced edit, the held shot for emphasis, the skipped beat for breathing room, always needs a human judgment call.
Pro Tip: When variable drift appears across a long clip, transcoding the source video to a constant frame rate before editing is the cleanest fix. Time-stretching audio only works when the drift is consistent from start to finish.
Try your sync techniques with Kudoflix

Knowing the techniques is half the job. Having a tool that does not get in the way is the other half. Kudoflix is a browser-based video editor with no downloads or installations required, built for editors who want to move fast without wrestling with complicated software. Its library of transitions, effects, and templates means you can apply beat-synced cuts, overlays, and color grades in a few clicks rather than hunting through menus. Whether you are building a social media reel or a full music video, Kudoflix’s professional editing tools give you the creative range to put every technique in this guide to work immediately.
Key Takeaways
Locking your picture edit before placing final music, and anchoring audio to the first visible sync event, eliminates the majority of sync problems before they start.
| Point | Details |
|---|---|
| Lock picture first | Finalize all video edits before placing the final music track to prevent timing drift. |
| Use a sync anchor on set | A clapperboard or hand-clap creates a sharp waveform spike that both manual and auto-sync tools rely on. |
| Cut on downbeats, not every beat | Cutting every beat creates fatigue; downbeat cuts with held shots on breakdowns maintain pacing and impact. |
| Detect beats once on final audio | Re-detecting after edits risks drift; run detection once on the master mix and leave it. |
| Apply J-cuts and L-cuts | Offsetting audio transitions by 1–2 frames around beat markers produces smoother, more cinematic results than hard cuts. |
Recommended