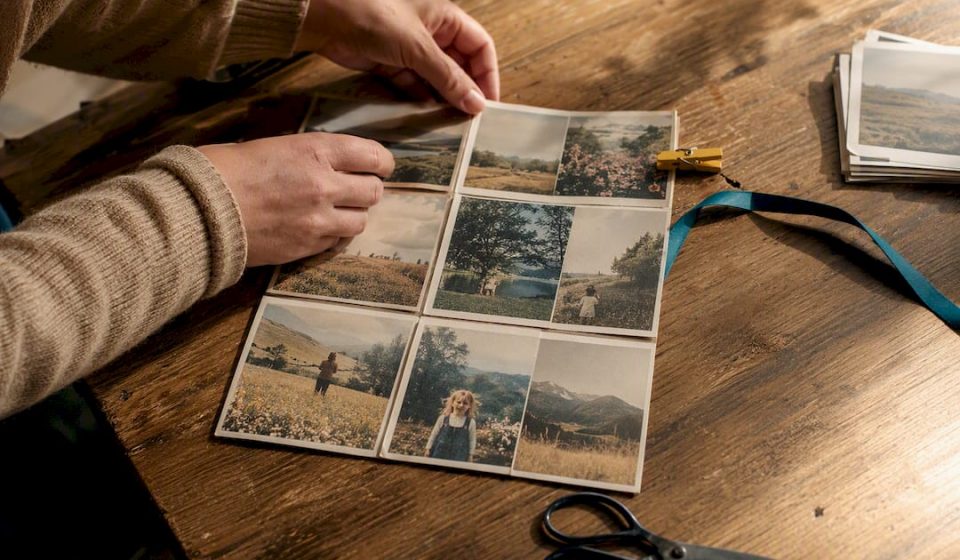

Make a video collage on your computer by setting the canvas size for your target platform, stacking each clip or photo on its own layer, cropping each panel to frame the subject, balancing the audio, and exporting to the right aspect ratio. A browser-based editor like Kudoflix handles this without installs, and the process works the same whether you’re building a split-screen comparison, a picture-in-picture tutorial, or a slideshow.
TL;DR:
- Crop panels to frame subjects instead of scaling to avoid readability issues, especially in multi-panel layouts.
- Keep the picture-in-picture inset proportionate to the main content, ensuring it doesn’t obscure key details.
- Use a template for consistent panel sizing and layout, and preview your export on the target device before publishing.
- Limit split-screen layouts to two or four panels to prevent subjects from becoming too small to read clearly.
- Treat audio as a dedicated editing step, balancing original sound, music, and voiceovers to create a polished, professional feel.
Table of Contents
- How to Make a Collage on Computer: The Quick Workflow
- Split-Screen, Picture-in-Picture, or Slideshow: Which Layout Fits?
- Setting Up Your Canvas, Layers, and Keyframes in the Editor
- Getting the Audio and Pacing Right
- Final Polish and Export Settings That Actually Play Well
- What Separates a Clean Collage From a Cluttered One
- Why Browser Editors Changed How I Think About Collages
- Try Kudoflix for Your Next Collage Project
- Sources
- FAQ
How to Make a Collage on Computer: The Quick Workflow
You don’t need desktop software to pull this off. Here’s the order that actually works, step by step:
- Collect and organize your media first. Pull every clip and photo into one folder, rename files so you can find them fast, and delete anything blurry or redundant before you touch the editor.
- Pick your canvas aspect ratio and frame rate. Vertical (9:16) for Reels and TikTok, square (1:1) for feed posts, horizontal (16:9) for YouTube or presentations.
- Start a new project and import each clip onto its own layer or track. Keeping them separate is what makes cropping and repositioning possible later.
- Crop each panel to frame the subject. Don’t just shrink the whole clip to fit a box.
- Add keyframes if a panel needs to move or resize during the video, then lock any track once its position is final so you don’t bump it by accident.
- Mix your audio. Keep the original sound where it matters, layer in music, and duck the music under any speech.
- Export using the preset built for your destination platform.
That sequence mirrors what production teams recommend: build a rough plan (sometimes called a paper edit) before you touch clips, so you know your hook, supporting shots, and closer before you start stacking layers. Montages built this way, and trimmed to roughly 30 to 90 seconds, tend to hold attention better on social feeds than longer, unplanned cuts.
Split-Screen, Picture-in-Picture, or Slideshow: Which Layout Fits?
Each layout serves a different job:
- Split-screen puts two or more clips side by side at equal weight. Use it for before/after comparisons, reaction videos, or showing two perspectives of the same event.
- Picture-in-picture (PiP) nests a smaller video inside a larger one. It’s the natural choice for tutorials (main demo plus a face cam) or commentary over gameplay and footage.
- Slideshow cycles through photos or short clips one at a time, usually set to music. It’s the right call for recaps, event highlights, or portfolio-style reels.
Platform shapes the decision as much as content does. Vertical suits TikTok and Reels, square works for feed posts, and horizontal fits YouTube or a projector screen in a meeting. Keep panel counts to two or four at most. Beyond that, subjects shrink too small to read, and every panel needs to preserve its subject’s framing rather than getting squeezed into a sliver. Leave a safe margin at the top and bottom of vertical layouts, too. That’s exactly where captions and platform buttons tend to collide.
Setting Up Your Canvas, Layers, and Keyframes in the Editor
Once you know your layout, the actual editor work is mechanical, but a few habits separate a clean collage from a messy one.
Start with canvas size and frame rate. Most browser editors offer presets for common platforms; use them instead of guessing dimensions by hand. Place each clip on its own track, name the tracks something you’ll recognize later (“main,” “inset,” “b-roll”), and lock a track once you’re happy with its position so you don’t drag it out of place while working on another layer. Snap guides help align panel edges without eyeballing it.
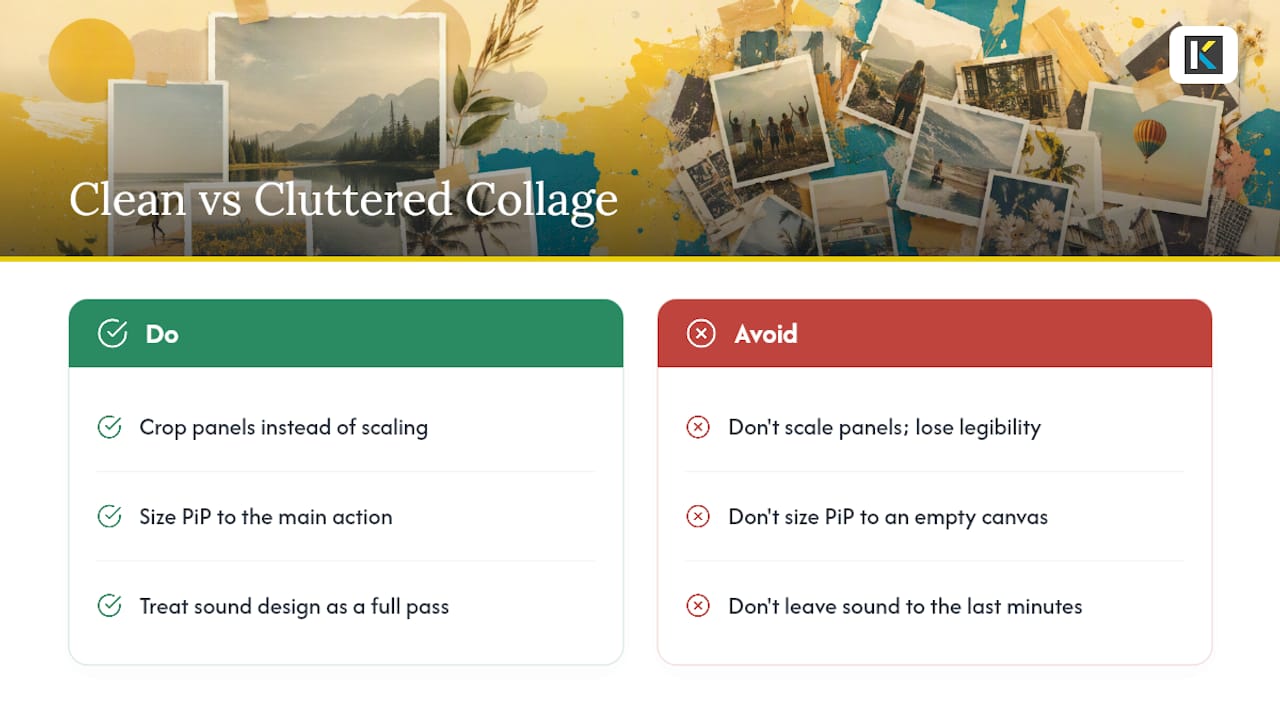
Crop clips to fit their panel rather than scaling the whole frame down. Cropping keeps your subject’s size and position intact; scaling shrinks everything, including faces and text, until they’re hard to read. If a shot has perspective distortion or an angled subject, a corner-pin adjustment can straighten it out before you crop.

For panels that move or resize mid-video, like an inset that grows when someone starts talking, keyframes handle the animation. Preview at full size and scrub through the timeline to confirm audio and visuals stay in sync, especially where panels enter or exit.
Modern browser editors can run this entire process, multi-track timelines, key framed animation, real-time preview, without any install, using web technologies like WebGPU and WebCodecs built into recent browsers. If you’re building the same layout repeatedly, save it as a template or compound clip so you’re not rebuilding panel positions from scratch on every project.
Pro Tip: Size your picture-in-picture inset based on what’s inside the main frame, not just the overall canvas. A PiP that looks fine against an empty background can completely cover a whiteboard, a subtitle, or a product shot in the main video.
Getting the Audio and Pacing Right
A collage with strong visuals and muddy sound still feels amateur. Treat audio as its own editing pass, not an afterthought:
- Keep original audio only for the moments that need it (a key line of dialogue, a crowd reaction) and lower it everywhere else under your music track.
- Use volume automation or ducking so music drops automatically when someone speaks, then rises again in the gaps.
- Normalize levels across all your clips so viewers aren’t reaching for the volume dial between panels.
- Cut fast montages to the beat of your music track; use J-cuts and L-cuts (where audio from one clip bleeds into the next) for anything with spoken continuity.
- Add captions and leave clear space at the bottom of the frame so they’re not hidden behind app buttons or navigation bars.
This kind of layered mixing, real audio for key beats and music underneath everything else, is standard practice in multi-source edits, and it’s usually the difference between a collage that feels professional and one that feels thrown together. Before you call it done, test playback on a phone speaker and on headphones. They expose different problems.
Final Polish and Export Settings That Actually Play Well
A few checks before export save you a re-upload later:
- Match exposure and color loosely across panels using a quick filter or LUT so clips shot in different lighting don’t clash side by side. Kudoflix’s color filter presets work well for this kind of fast, uniform pass.
- Confirm captions and titles sit inside the safe area, particularly for vertical crops where UI elements crowd the edges.
- Export as MP4 using H.264, with 1080p as your baseline resolution. Pick a bitrate that balances file quality against your platform’s upload limit.
- Play the exported file on an actual phone before you publish. If captions or panel edges get clipped by an app’s interface, adjust and export again.
- If you’re on a free plan, check whether your export carries a watermark, since some free tiers apply one automatically.
For slideshow-specific export settings and music timing, Kudoflix’s guide to building a slideshow with music walks through the same principles applied to a photo-driven layout.
What Separates a Clean Collage From a Cluttered One
Three habits do most of the heavy lifting. Crop instead of scale, so every panel keeps its subject legible. Size PiP insets against what’s actually happening in the main frame, not against the empty canvas. And treat sound design as a real editing pass, not something you fix in the last five minutes.
Kudoflix’s browser-based editor was built around exactly this kind of workflow: no download, fast cloud processing so panels preview smoothly even on modest hardware, and a library of templates designed specifically for split-screen, PiP, and slideshow layouts. Rather than building a four-panel grid from a blank canvas, start from a ready-made template and adjust the crops to your footage. Browsing example projects built in the editor is also a fast way to see pacing and panel sizing choices before you commit to your own layout. If you’re designing a title card or intro graphic to bookend the collage, a resource like 121 Group’s logo and design work is worth a look for visual hierarchy ideas that translate directly into how you organize panels on screen.
Why Browser Editors Changed How I Think About Collages
Speed is the whole story here. A browser-based editor lets you go from raw clips to a finished split-screen or slideshow in one sitting, without waiting on installs or fighting a desktop app’s learning curve. My honest recommendation: start from a template rather than a blank canvas. It forces good panel proportions from the first click. And always preview your export on the actual phone or screen it’s headed for before you call it finished. Layouts that look balanced on a laptop monitor sometimes fall apart on a five-inch screen.
— Mandrixx
Try Kudoflix for Your Next Collage Project
Kudoflix is the alternative to juggling desktop software for collage work: no download, no install, no waiting on render times before you even start editing. You get a browser-based editor built around exactly the panel work this guide covers, with templates already configured for split-screen, picture-in-picture, and slideshow layouts, plus export presets sized for social platforms right out of the gate. Start from the online video editor and drop your clips onto a ready-made layout, or browse the free templates to see which format fits your footage before you build from scratch. The free plan gets you started at no cost, and paid plans with advanced features are available; current prices are listed on the pricing page.
Sources
FAQ
What’s the Fastest Way to Make a Collage on a Computer?
Use a browser-based editor, set your canvas to match the target platform, stack each clip on its own layer, crop panels to frame subjects, then export. Kudoflix’s templates skip the blank-canvas setup entirely.
Do I Need to Download Software to Make a Video Collage?
No. Editors like Kudoflix run entirely in the browser using modern web technology, so there’s nothing to install and no long render waits before you can start.
How Many Panels Should a Split-Screen Collage Have?
Keep it to two or four panels. More than that shrinks each subject too small to read clearly, especially on a phone screen.
What Export Format Works Best for Social Platforms?
Export as MP4 using the baseline resolution of 1080p, balancing file quality against your platform’s upload limits.
How Much Does Kudoflix Cost?
Kudoflix offers a free plan and paid plans with various features; current pricing details are available on the pricing page.
Recommended