Lighting is the single biggest factor separating amateur footage from professional-looking video. A $3,000 camera pointed at bad light still looks cheap; a phone camera in good light can look genuinely polished. Fix these three things and most quality complaints disappear:
- Exposure and detail: enough light means less noise, more dynamic range, and skin tones that hold up in post.
- Mood and storytelling: where you place light and how hard or soft it falls tells the viewer what to feel before a word is spoken.
- Fast, cheap fixes: diffusion paper, a reflector, and a five-minute exposure check solve most problems without new gear.
The next sections walk through exactly how to set, test, and troubleshoot light on any budget.
Key Takeaways
Lighting determines perceived video quality more than any other single production factor, because it controls exposure, detail, mood, and viewer trust simultaneously.
| Point | Details |
|---|---|
| Lighting outweighs camera specs | Roughly half of what makes footage look amateur traces back to lighting, not resolution or lens quality. |
| Master three-point lighting | Key at 30 to 45 degrees, fill at half to three-quarters intensity, and a back light for separation. |
| Never mix color temperatures | Match all sources to one Kelvin value or gel them, since mixed casts are hard to fix later. |
| Test through the camera, not your eyes | Use the histogram or live view to catch clipping and shadow noise before you finish shooting. |
| Editing polishes, it doesn’t rescue | Kudoflix handles quick white-balance and exposure fixes in-browser, but strong on-set lighting still comes first. |
Table of Contents
- Why the Role of Lighting in Video Quality Outweighs Camera Specs
- Core Lighting Concepts Every Creator Should Know
- Choosing the Right Light Source for Your Budget
- How Do You Set Up Three-Point Lighting for Video?
- How Lighting Shapes Mood and Storytelling
- Your Pre-Shoot Lighting Checklist and Fast Fixes
- What Editing Can and Can’t Fix After a Bad Shoot
- Sources
Why the Role of Lighting in Video Quality Outweighs Camera Specs
Underexposed footage forces your camera to push ISO higher than it should, and that shows up as grain the moment you try to brighten it in post. Overexposed highlights clip and lose detail permanently. No editing software recovers information that was never captured. This is why lighting, not resolution or bitrate, decides whether footage reads as professional or amateur.
Viewers register this instantly, even if they can’t articulate why. A well-lit face signals competence and trustworthiness before the content itself lands. A poorly lit one reads as careless, regardless of what’s being said.
One practical breakdown of amateur-looking footage found lighting accounts for roughly half of what makes video look unprofessional, compared with about 30% for audio issues, 15% for composition, and only 5% for camera quality itself. That ordering surprises most new creators, who assume the camera is the bottleneck.
Two examples worth remembering:
- Dim footage lifted in an editor doesn’t just get brighter. It gets noisier, because you’re amplifying signal and noise together.
- A bright window behind a subject blows out to white, and the camera’s sensor simply has no highlight data left to recover.
Core Lighting Concepts Every Creator Should Know
Four ideas explain almost every lighting decision you’ll make. Color temperature measures how warm or cool a light source appears, in Kelvin, and your white balance setting has to match it or footage takes on an orange or blue cast. Soft versus hard light comes down to source size relative to the subject: a small bare bulb throws hard, sharp-edged shadows, while a large or diffused source wraps light around the face and softens transitions. Bigger or closer light sources produce that flattering wraparound quality that separates a softbox setup from a bare desk lamp.
Directionality matters just as much. Light from the front flattens features. Light from the side carves out texture and dimension. Light from above casts unflattering shadows under the eyes, and light from behind creates a silhouette unless you add a fill.
- Front light: flat, safe, low drama
- Side light (45°): dimension, texture, classic portrait look
- Backlight alone: silhouette, useful only when intentional
- Top light: unflattering unless heavily diffused
Pro Tip: Shoot a five-second test clip and check it against your camera’s white balance presets, or hold a gray card in frame and use custom white balance. It takes fifteen seconds and prevents a color-cast headache in editing.
Choosing the Right Light Source for Your Budget
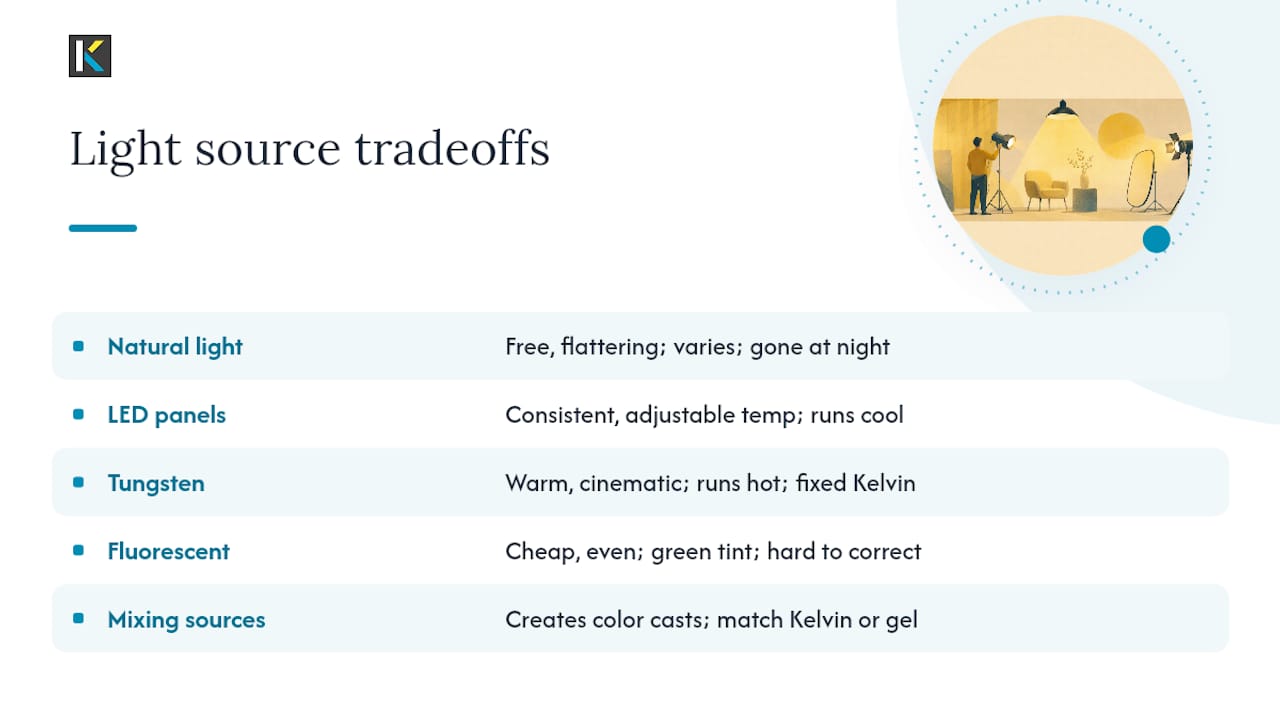
Every light source comes with a tradeoff. Natural window light is free and flattering but changes throughout the day and disappears at night. LED panels give you consistent, adjustable color temperature and run cool enough to use for hours. Tungsten lights are warm and cinematic but run hot and fixed at one Kelvin value. Fluorescent tubes are cheap and even but often carry a green tint that’s hard to correct.

The mistake that trips up most creators isn’t picking the wrong source. It’s mixing sources with different color temperatures in the same shot, which creates color casts that are genuinely difficult to fix afterward. Turn off the overhead fluorescent if you’re lighting with daylight-balanced LEDs. Match everything to one Kelvin value or gel a source to match the rest.
You don’t need a lighting kit to get this right. Reflectors, clamp lights, desk lamps, and a sheet of baking parchment for diffusion produce results that hold up against far pricier setups when the fundamentals are handled.
How Do You Set Up Three-Point Lighting for Video?
Three-point lighting remains the standard for interviews, talking-head videos, and single-person setups because it solves the three problems every shot has: not enough light on the face, harsh shadows, and no separation from the background.
- Place the key light at 30 to 45 degrees off-axis from the camera, slightly above eye level. This is your primary light source, and Canon’s lighting guide recommends this angle specifically because it models the face without flattening it.
- Add the fill light on the opposite side at roughly 50 to 75% of the key’s intensity, which softens shadows without erasing them entirely.
- Set the back or rim light behind and above the subject, aimed at the head and shoulders, to separate them from the background.
- Check for a background or practical light if your setting reads too dark or flat behind the subject; a lamp already in frame can double as motivated light and part of the story.
Variations exist for a reason:
- Solo vlogger with one light: skip the rim, prioritize a soft key close to the lens axis.
- Webcam or laptop setup: a ring light or panel just above the screen substitutes for key and fill combined.
- Small interview room: use a window as key and a reflector as fill if you don’t own lights yet.
How Lighting Shapes Mood and Storytelling
The ratio between your key and fill light does more than expose the shot. It sets emotional tone. A tight ratio, where fill nearly matches key, produces high-key lighting: bright, even, low-contrast, and associated with comedy, corporate video, and upbeat brand content. A wide ratio, where fill is much dimmer than key, produces low-key lighting: heavy shadows, high contrast, and the visual language of drama, thrillers, and moody narrative work.
Genre conventions follow directly from this:
- Interviews and documentaries: moderate ratio, natural color, minimal drama
- Commercial and brand video: high-key, clean, saturated color
- Dramatic narrative: low-key, hard shadows, desaturated or warm tones
- Social short-form: often high-contrast and stylized to grab attention in the first second
A neutral interview lit with a soft, even ratio reads as credible and calm. Light that same subject with a single hard side light and deep shadow, and the same words suddenly feel tense, even threatening. Nothing changed but the light.
That’s the entire power of the tool in one comparison: identical dialogue, identical framing, completely different meaning.
Your Pre-Shoot Lighting Checklist and Fast Fixes
Run this before you hit record, especially when time is tight:
- Power on every light and confirm nothing is flickering or underpowered.
- Match color temperature across all sources, or gel one to fit the others.
- Set your key light at 30 to 45 degrees and check for even coverage on the face.
- Bring up fill to soften shadows without flattening the image.
- Add or confirm your backlight for subject separation.
- Check exposure on your camera’s histogram or live view before rolling.
When something’s still off and you don’t have time to rebuild the setup:
- Harsh LED panel: tape a sheet of parchment or diffusion gel over it to soften the shadow edge instantly.
- Dark side of the face: bounce light back in with a white foam board or reflector.
- Mixed color casts: kill the room’s ambient lights and rely only on your controlled sources.
- Suspected clipping: check the histogram for a spike jammed against the right edge, and pull your key back or lower its intensity.
Watching the histogram or a zebra-pattern overlay in live view catches exposure problems before they’re baked into the footage, which is far easier than trying to rescue them afterward.
What Editing Can and Can’t Fix After a Bad Shoot
A color grade can shift white balance a little, recover mild exposure mistakes, and push shadows or highlights within a reasonable range. That’s genuinely useful, and it’s why post-production exists as a safety net, not a crutch.
What it can’t do reliably: pull detail out of severely underexposed footage without introducing visible noise, fix skin tones distorted by mixed color temperatures on set, or restore highlight detail that clipped to pure white during the shoot. Matched, diffused lighting on set improves downstream tasks like green-screen keying in ways no editing tool can replicate after the fact.
- Fixable in post: minor white-balance drift, small exposure shifts, selective color adjustments
- Not fixable in post: heavy underexposure noise, mixed-temperature skin casts, blown highlights
Pro Tip: Use a quick online editor to apply a fast color correction pass for social clips, but treat it as polish, not rescue. Good light on set will always beat the best grade applied to bad footage.
Three Rules I Use on Every Shoot
Start with a diffused key, never a bare bulb. Match every source to one color temperature before rolling. Always judge lighting through the camera’s screen, not your eyes, since sensors read light differently than people do. When time runs short, fix exposure first, then color, then everything else.
When a Quick Edit Is the Right Move
Some lighting problems are minor enough that a fast edit genuinely solves them. A slight color cast, a touch of underexposure, a shadow that needs lifting a notch. There are other routes to fixing this, like reshooting or buying more gear, but for small, common issues, editing is the fastest path.
Kudoflix runs entirely in the browser, with no downloads and no waiting for software to load, so you can pull footage in, correct exposure and white balance, and export before you’d have finished setting up a desktop editor. It won’t fix footage that was genuinely underexposed or shot under three clashing light sources. But for the smaller fixes creators run into after almost every shoot, Kudoflix’s simple editing tools get you from raw clip to polished, share-ready video without a steep learning curve. Try correcting your next clip and see how far a few adjustments take it.
Sources
- Video Lighting Techniques: A Producer’s Practical Guide
- Lighting techniques for video
- Lighting for Video: Setting the Perfect Lighting for Video Recording
- How lighting, audio, & camera settings impact talking-head video quality – Education Technology Office
Recommended