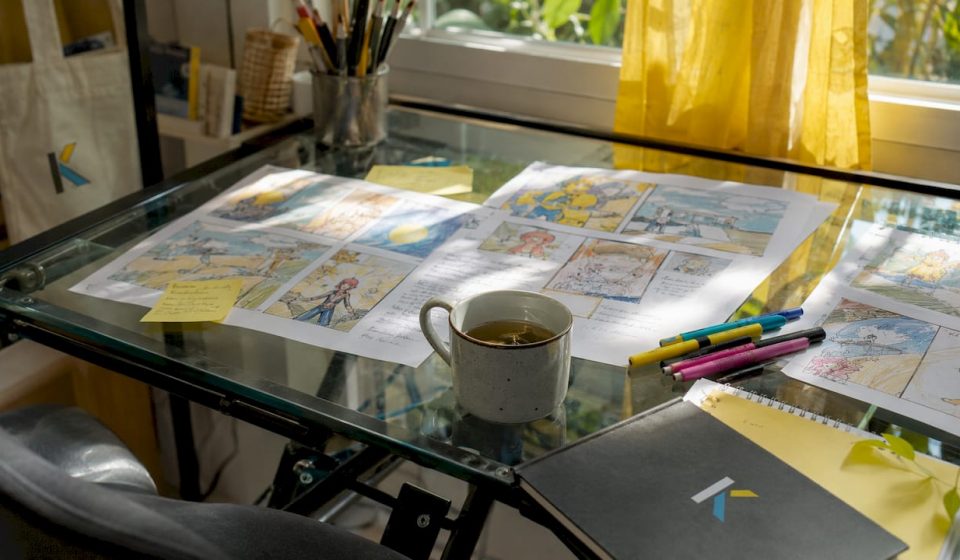

Video storyboard planning is the pre-production process of mapping a script into ordered visual panels so every collaborator knows exactly what to shoot before the camera rolls. Each panel shows five essential elements at a glance:
- Visual thumbnail — a rough sketch of the frame composition
- Shot description and action — what happens in the shot
- Shot specs — shot type, angle, and lens details
- Movement indicators — arrows for camera or subject movement
- Dialogue and audio cues — dialogue lines, sound effects, or music notes
That combination turns a written script into a shared visual plan the director, cinematographer, and editor can all read from. The result: fewer surprises on set, fewer costly re-shoots, and a shoot day that actually runs on schedule.
Table of Contents
- What a storyboard does for your video project
- The five elements every storyboard panel needs
- How to storyboard a video in 7 steps
- What storyboards look like and which tools to use
- Common mistakes that kill good storyboards
- Key Takeaways
- Why simple, decision-focused storyboards work better
- From storyboard to finished video with Kudoflix
- Useful sources and templates
What a storyboard does for your video project
A storyboard sits between the script and the shot list in the video planning process. The script tells you what happens; the storyboard shows how it looks on screen; the shot list turns those decisions into a logistical checklist. Skip the middle step and you’re solving composition problems on set, with a crew on the clock.
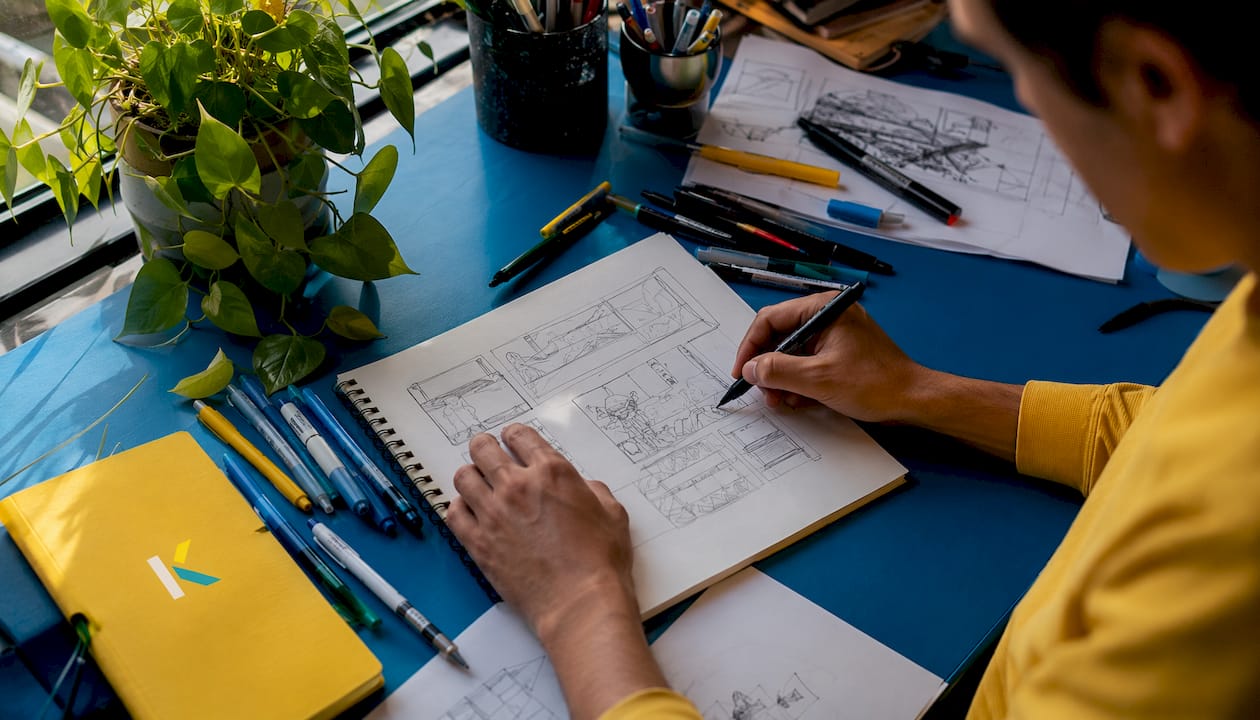
Storyboarding is most valuable for specific situations: animation, complex camera moves, VFX sequences, and multi-actor blocking where spatial relationships drive meaning. For a simple talking-head interview or observational documentary footage, a shot list is usually enough. Knowing the difference saves pre-production time.
The benefits of video storyboarding go beyond the shoot day. Stakeholders can review a board and flag misunderstandings before a single location is booked. Budget and equipment decisions become concrete once you can see how many setups a scene requires. Editors get a reference for the intended cut before footage even exists.
Planning timeline: U.S. professional teams using modern digital tools commonly complete the full storyboard planning process in 2–5 working days for a standard corporate or brand video. AI-assisted generators can produce an illustrated panel set in under a minute, with human refinement added as needed — compressing workflows that once took weeks.
The five elements every storyboard panel needs
A usable panel is not a finished illustration. It is a decision document. StudioBinder’s breakdown identifies five elements that make each panel technically ready for filming:
1. Visual thumbnail. A rough sketch — stick figures included — showing frame composition, subject placement, and background. The director and DP use this to confirm the shot before arriving on location.
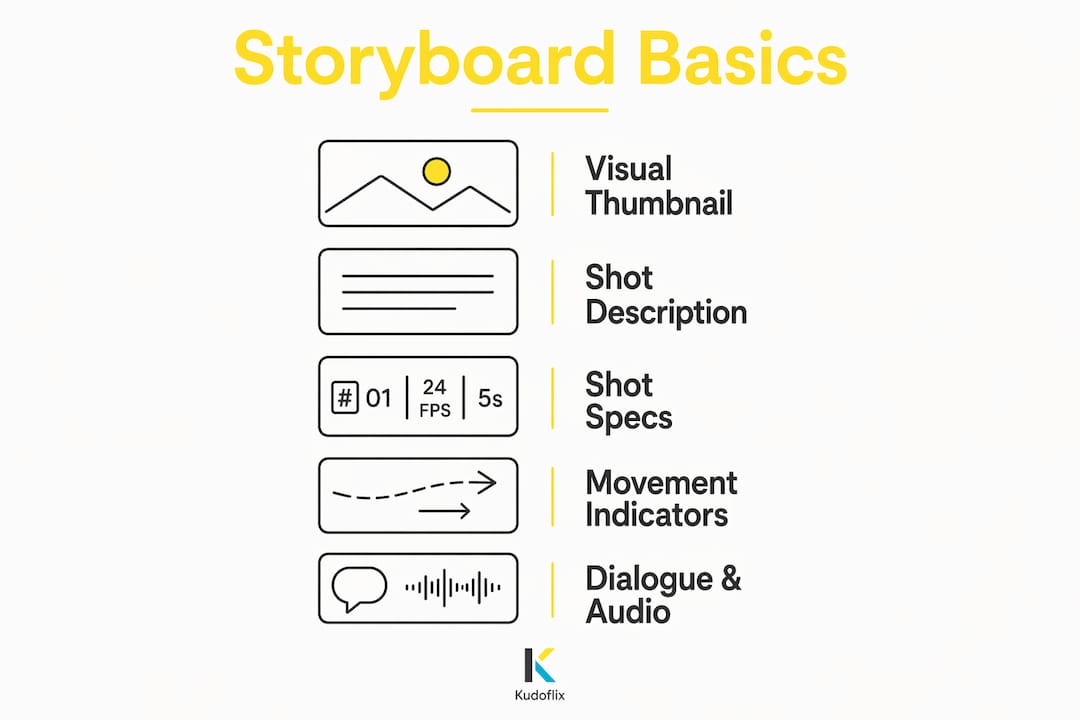
2. Shot description and action. One or two sentences describing what physically happens: “Actor crosses left, picks up phone, turns to camera.” This is the blocking note the AD and actors reference.
3. Shot specs. Shot type (wide, medium, close-up), angle (eye-level, low, overhead), and any lens notes. A single line like “MCU, slight low angle, 50mm” tells the cinematographer everything they need to set up the shot.
4. Movement indicators. Arrows drawn on the thumbnail show camera movement (pan, tilt, dolly) or subject movement through the frame. Without these, a tracking shot looks identical to a static one on paper.
5. Dialogue and audio cues. The line of dialogue spoken in the shot, or a note for music, sound effect, or silence. Sound designers and editors rely on this to plan the audio edit before the shoot.
Each element serves a different crew role. The thumbnail is for the director and DP; the action note is for the AD; the shot specs are for the camera department; the audio cue is for sound and post. A panel missing any one of these leaves someone guessing.
How to storyboard a video in 7 steps
This sequence takes you from blank page to a board your crew can actually shoot from. Experienced planners expect a two-page script scene to break into several storyboard panels, taking about an hour or two of focused work per scene.
-
Define your goal and audience (15–30 minutes). Before sketching anything, write one sentence: what must this video make the viewer do or feel, and on which platform will they watch it? Platform determines aspect ratio; goal determines pacing. Storyboarding without this locked in means planning the wrong video entirely.
-
Write or lock the script (varies). A storyboard drawn from a draft script is a storyboard you’ll redraw. Lock the script — or at minimum the scene beats — before opening a single panel template.
-
Break the script into shots and beats (30–60 minutes per scene). Read each scene and mark every change in camera position, subject, or action. Each mark is a potential panel. Aim for the 10–15% of shots where spatial relationships or movement are inseparable from meaning — those are the shots that need boards. The rest can live in a shot list.
-
Choose your aspect ratio and frame guides (10 minutes). 16:9 for broadcast and YouTube, 9:16 for Reels and TikTok, 1:1 for feed posts. Print or open a template with the correct frame proportions before you draw a single thumbnail. Drawing in the wrong ratio wastes time and misleads the crew. For social-native formats, check short-form video editing best practices to confirm your framing decisions early.
-
Sketch thumbnails and select keeper frames (bulk of the work). Draw fast and rough. The goal is to capture the composition decision, not to produce finished art. Sketch multiple options for complex shots, then mark the keeper. Arrows go on now — draw them directly on the thumbnail.
-
Annotate technical details (30–45 minutes). Fill in shot specs, action notes, and audio cues for every keeper panel. This is where the board becomes a crew document rather than a personal sketch.
-
Review with your crew and derive the shot list (30–60 minutes). Walk the DP and editor through the board before it is final. They will catch coverage gaps and impossible setups you missed at the desk. After review, convert the approved board into a numbered shot list and attach it to the schedule.
Pro Tip: Keep panels ‘clear, not beautiful.’ A stick figure with an arrow communicates a tracking shot just as well as a rendered illustration — and takes one-tenth the time. For educators, this is the rule that makes storyboarding a classroom exercise instead of an art project.
What storyboards look like and which tools to use
Storyboards come in several formats, and the right one depends on your project type, team size, and how much time you have.
| Format / Tool | Best for | Time to produce | Notes |
|---|---|---|---|
| Printed 4×3 panel grid | Classroom exercises, quick shoots | 30–60 min per scene | Low barrier; no software needed |
| Single-row comic-strip panels | Short narrative or commercial spots | 1–2 hours per scene | Easy to read left-to-right on set |
| Vertical 9:16 template | Social Reels, TikTok, short-form | 30–60 min per scene | Match the platform’s native ratio |
| Cloud storyboard app | Remote teams, multi-department review | 1–3 hours per scene | Enables real-time collaboration |
| AI-assisted generator | First-pass illustration, internal review | Under 5 minutes for a full pass | Refine key frames manually after |
| Presentation slides (Google Slides, PowerPoint) | Educators, client presentations | 1–2 hours | Easy to share; limited annotation |
Paper templates work for any beginner or classroom setting. The University of Manchester’s Faculty of Science and Engineering publishes a free storyboard template and an annotated example board that are genuinely classroom-ready.
Cloud apps like Canva’s storyboard creator offer pre-built panel templates you can populate with stock images or your own sketches, then share a link for team feedback. Canva’s drag-and-drop interface makes it accessible without any design background.
AI-assisted generators are fastest for an internal first pass. They produce illustrated panels in under a minute, which teams use for early review before refining the shots that actually matter. The time savings are real, but the output still needs a human eye on camera angles and movement.
For visual storytelling decisions that go beyond panel layout, pairing your board with a clear brand or narrative treatment helps keep the visual tone consistent across every shot.
Common mistakes that kill good storyboards
Even experienced planners fall into patterns that make boards less useful. Here is what to watch for:
Mistakes to avoid:
- Storyboarding before script lock. Drawing panels from a draft script means redrawing them when the script changes. Lock the words first.
- Over-drawing instead of deciding. Spending two hours on a single beautiful panel is two hours not spent on the ten panels that needed decisions.
- Missing camera-movement arrows. A static thumbnail with no arrows looks identical to a dolly shot. Always mark movement.
- Skipping the DP and editor review. A board that only the director has seen is a board with uncaught coverage gaps.
- Keeping script, board, and shot list in separate, unlinked documents. When the script changes, all three documents need to update. Version control matters.
Best practices that actually help:
- Annotate every panel, even the simple ones. A note that says “static, no movement” is still information.
- Use aspect-ratio templates from the start. Never draw in a generic rectangle.
- Number panels sequentially and tie each number to the shot list. This makes on-set navigation fast.
- Keep a version history. Label boards V1, V2, and so on, and date each revision.
Pro Tip: For remote teams or classroom reviews, share the board as a cloud document with comment permissions. Reviewers can flag a specific panel with a note rather than sending a long email. Approvals that used to take days can happen in an afternoon.
Key Takeaways
A storyboard is the single most effective tool for protecting your shoot day — it converts script decisions into visual instructions before anyone sets foot on set.
| Point | Details |
|---|---|
| Definition and purpose | Video storyboard planning maps a script into ordered panels showing composition, action, camera direction, and audio cues. |
| When to storyboard | Invest in boards for the 10–15% of shots where movement or spatial relationships drive meaning; use a shot list for the rest. |
| Clarity over craft | Stick figures with arrows communicate a shot just as well as polished illustrations — decisions matter, not drawing skill. |
| Realistic timelines | A two-page scene typically produces 6–15 panels in 1–2 hours; a full corporate video board takes 2–5 working days with modern tools. |
| Kudoflix for the handoff | After storyboarding, Kudoflix’s browser-based editor and template library let you assemble footage quickly without downloads or complex software. |
Why simple, decision-focused storyboards work better
The instinct to make a storyboard look good is understandable. A polished board feels professional. But that instinct consistently costs more than it saves.
The real value of a storyboard is the decisions embedded in it: which angle tells the story, where the camera moves, how a cut will feel. Those decisions protect the shoot day by resolving problems at a desk instead of on a set with a crew waiting. A rough thumbnail with a clear arrow communicates a tracking shot. A beautiful illustration without one does not.
For educators, this reframe is genuinely useful. When students understand that storyboarding is a decision-making exercise rather than an art assignment, the barrier drops and the work gets done. Reproducible panel templates, simple blocking exercises, and the discipline of writing one action note per panel build visual literacy faster than any rendering lesson. The skill being trained is spatial thinking and narrative logic, not illustration.
The projects that suffer most are the ones where teams try to solve strategy questions on set. A clear board, reviewed by the people who will actually shoot and edit it, prevents that. It does not need to be beautiful. It needs to be right.
From storyboard to finished video with Kudoflix
Once your board is approved and your shot list is locked, the edit starts before you even pick up a camera. Label your reference frames, build a folder structure that mirrors your panel sequence, and collect any stock or archival media the board calls for.
Kudoflix is built for exactly this handoff. It runs entirely in the browser — no downloads, no installation — so you can open a project the moment footage lands. The template library gives you pre-built sequences that match common storyboard structures, and the timeline editor is fast enough that beginners can assemble a rough cut in a single session. Import your footage, drop it against your storyboard sequence, and the edit takes shape quickly.
Try a free starter template or open the online video editor to import your first storyboard frame sequence and see how fast the gap between planning and finished video closes.
Useful sources and templates
| Resource | What it contains | Why it helps |
|---|---|---|
| University of Manchester storyboard guide | Step-by-step storyboarding guide for video projects | Classroom-tested, free, and written for educators |
| Manchester storyboard template (.docx) | Downloadable blank panel template | Ready to print or adapt for any project |
| Manchester annotated example (.pdf) | Completed example board with annotations | Shows beginners what a finished board looks like |
| StudioBinder — What is a Storyboard? | Industry guide covering panel anatomy and examples | Authoritative reference for the five-element panel structure |
| Coursera — How to Create a Visual Storyboard | Broad overview of storyboard types and workflow steps | Good starting point for beginners and UX/design contexts |
Recommended