
What is a video timeline in editing?
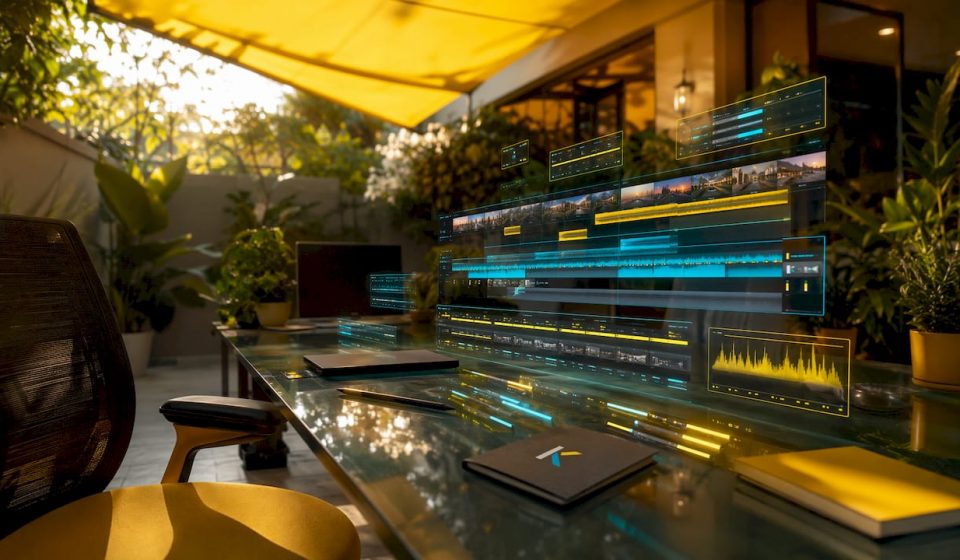
The video timeline is the horizontal workspace in video editing software where you arrange every clip, audio track, and effect in the order they’ll play back. Think of it as the skeleton of your project: nothing gets into the final video without passing through it. Each element appears as a color-coded block that you can move, trim, or extend, giving you visual control over both sequence and duration.
The main elements you’ll encounter on any timeline:
- Clips: Individual video or audio segments placed as blocks along the timeline
- Tracks: Horizontal lanes that separate video content from audio content; video tracks sit above, audio tracks below
- Playhead: The vertical line that marks your current position in the project and moves as the video plays
- Time ruler: The bar across the top showing timecode, typically in hh:mm:ss:ff notation, so you can pinpoint exactly where you are
- Transitions and text: Additional elements that live on their own layers, sitting between or above clips
- Track stacking: Multiple video tracks layered on top of each other, where higher tracks appear over lower ones in the final output
The timeline doesn’t just show you what’s in your project. It shows you when everything happens and for how long, which is what separates a polished edit from a raw pile of footage.
Basic functions and tools every timeline has
Every editing timeline, regardless of the software, shares a core set of tools. Learning these first saves you from hunting through menus later.
- Playhead control: Click anywhere on the time ruler to jump to that moment. Drag the playhead to scrub through footage manually.
- Trimming: Drag the left or right edge of a clip to shorten or lengthen it without deleting the underlying footage.
- Cutting and splitting: Slice a clip at the playhead position to break it into two independent segments you can move or delete separately.
- Transitions: Short effects placed at the cut point between two clips to soften or stylize the change from one shot to the next.
- Track types: Video tracks accept only video clips; audio tracks accept only audio clips. When you drag a clip that has both, most software splits it automatically.
- Zoom controls: Zoom in to make fine frame-level cuts; zoom out to see your entire project at once.
- Clip organization: Move clips left or right along the track, or up and down between tracks, by clicking and dragging.
- Audio and video sync: Align the audio waveform of a spoken line with the matching video clip by dragging them until the peaks line up visually.
- Keyboard shortcuts: J, K, and L control playback speed and direction; C cuts; V switches to the selection tool. These three alone cut editing time noticeably.
Multi-track editing lets you play multiple video clips, photos, music, and voiceover simultaneously, which turns the timeline from a simple sequence into a full compositional workspace.
Workflow tips for using your timeline efficiently
Good timeline habits separate editors who finish projects from those who get lost in them. The tips below apply whether you’re cutting a two-minute social clip or a thirty-minute documentary.
- Start with a rough cut. Drop all your clips onto the timeline in order first, without worrying about exact timing. Get the story right, then tighten.
- Label and color-code your clips. Most software lets you rename clips and assign colors. Use red for interview footage, blue for B-roll, green for music. You’ll thank yourself at hour three.
- Organize tracks logically. Put your main video on track 1, B-roll on track 2, titles on track 3, music on the first audio track, and dialogue on the second. Consistent structure means you always know where to look.
- Use markers. Drop a marker at any point in the timeline to flag a section for review, a music hit, or a note to yourself. Most editors support text labels on markers.
- Handle multi-track overlays carefully. When you stack clips on multiple video tracks, the top track covers everything below it unless you apply transparency. This is exactly where titles and logos belong.
- Sync audio early. If you recorded audio separately from video, sync it before you start cutting. Fixing sync problems after a long edit is painful.
- Learn five shortcuts. You don’t need to memorize every hotkey. Just learn cut ©, select (V), play/pause (spacebar), undo (Cmd/Ctrl+Z), and zoom in/out (+ and -). Those five cover 80% of timeline work.
Pro Tip: Collapse tracks you’re not actively working on. A timeline with ten expanded tracks showing waveforms and thumbnails is visually overwhelming. Most software lets you shrink individual tracks to a thin strip, keeping your workspace clean without hiding the content.
For projects like wedding films, where the timeline structure directly shapes the emotional arc, a clear cinematic editing workflow makes the difference between a coherent story and a sequence of pretty shots.

How Adobe Premiere Pro and Kudoflix handle timeline features
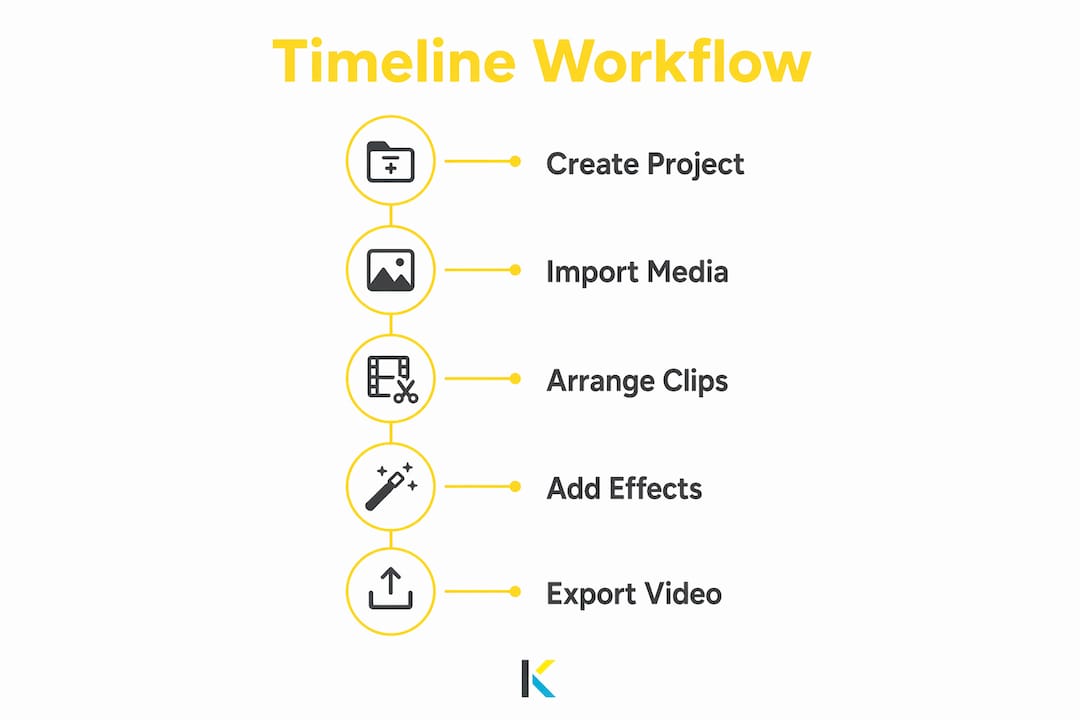
Different software implements the same core timeline concept in different ways. Here’s how two widely used editors approach it, with a focus on what beginners will actually notice.
| Feature | Adobe Premiere Pro | Kudoflix |
|---|---|---|
| Track types | Separate video (V1, V2…) and audio (A1, A2…) tracks | Integrated track layout, video and audio managed together |
| Timeline zoom | Zoom bar and scroll wheel; precise frame-level zoom | Zoom controls built into the editor interface |
| Clip trimming | Ripple, roll, slip, and slide trim tools | Click-and-drag trimming, beginner-friendly |
| Transitions | Extensive library; drag-and-drop onto cut points | Built-in transitions library, accessible in a few clicks |
| Multi-track support | Full multi-track with unlimited video and audio tracks | Multi-track support for layering video, audio, and text |
| Keyboard shortcuts | Full professional shortcut set (J/K/L, C, V, etc.) | Simplified shortcut set suited to new editors |
| Installation | Desktop application, download required | Browser-based, no download or installation needed |
| Best for | Professional editors working on complex projects | Beginners and intermediate creators who want fast results |
Adobe Premiere Pro’s timeline is one of the most fully featured in the industry. The track header in Premiere displays track type, number, effects status, mute, lock, and a custom name field, giving professionals granular control over every layer. The tradeoff is a steeper learning curve.
Kudoflix takes the opposite approach. The intuitive timeline editor is designed to get you editing within minutes, not hours, with no software to install. For social media clips, family videos, or business presentations, that accessibility matters more than having fifteen trim modes.
Pro Tip: If you’re new to editing, start with a tool that doesn’t bury you in options. You can always move to a more complex platform once you understand how timelines work. Learning the concepts on a simpler interface first means you’ll pick up professional tools faster.
How modern timeline design adapts to your skill level
One of the biggest shifts in video editing software over the past several years is how much control editors now have over the timeline view itself. The timeline no longer has to look the same at every stage of a project.
Expanded timelines reveal all media and visual layers, letting you make precise timing edits and see every track at once. Collapsed timelines hide that detail, reducing visual noise when you just need to check the overall structure. Both views show the same project; you’re just choosing how much information to display at once.
Modern software typically offers:
- Thumbnail view: Shows a frame from each clip directly on the timeline block, so you can identify shots at a glance without playing them
- Audio waveform display: Draws the volume curve of each audio clip as a visual wave, making it easy to spot dialogue, music beats, and silence
- Fit-to-view controls: Zoom the timeline out to show your entire project in one screen, or zoom to fit just the active scene
- Collapsible tracks: Collapse or expand individual tracks to control how much vertical space each one takes up
Track stacking follows a z-order logic: higher tracks overlay lower ones unless you apply transparency. This is why titles and logos always go on the top video track. If you put a title on track 1 and your main video on track 2, the video will cover the title completely.
Flexible views help beginners avoid the overwhelm that drives people away from editing software. A beginner working on a single-track project doesn’t need to see eight empty audio tracks. A professional cutting a multi-camera interview needs every track visible and labeled. Good timeline design serves both without requiring either to compromise. You can explore how Kudoflix handles this balance if you’ve ever felt buried by a traditional editing interface.
Key Takeaways
The video timeline is the core workspace in any editing project, and understanding its structure, tools, and flexibility is what separates confident editors from frustrated ones.
| Point | Details |
|---|---|
| Timeline structure | The timeline organizes clips, audio, and effects as color-coded blocks on horizontal tracks ordered by time. |
| Track types matter | Video tracks and audio tracks are separate; clips with both split automatically into their respective lanes. |
| Shortcuts save time | Learning J, K, L, C, and V hotkeys covers the majority of everyday timeline editing tasks. |
| Track stacking follows z-order | Higher tracks overlay lower ones, so titles and logos always belong on the top video track. |
| Flexible views reduce complexity | Collapsing unused tracks and using fit-to-view controls keeps the workspace manageable at any skill level. |
Ready to put these concepts into practice? Kudoflix’s online video editor gives you a full timeline editing environment in your browser, no download required, with built-in transitions, templates, and effects designed to get your first project finished fast.
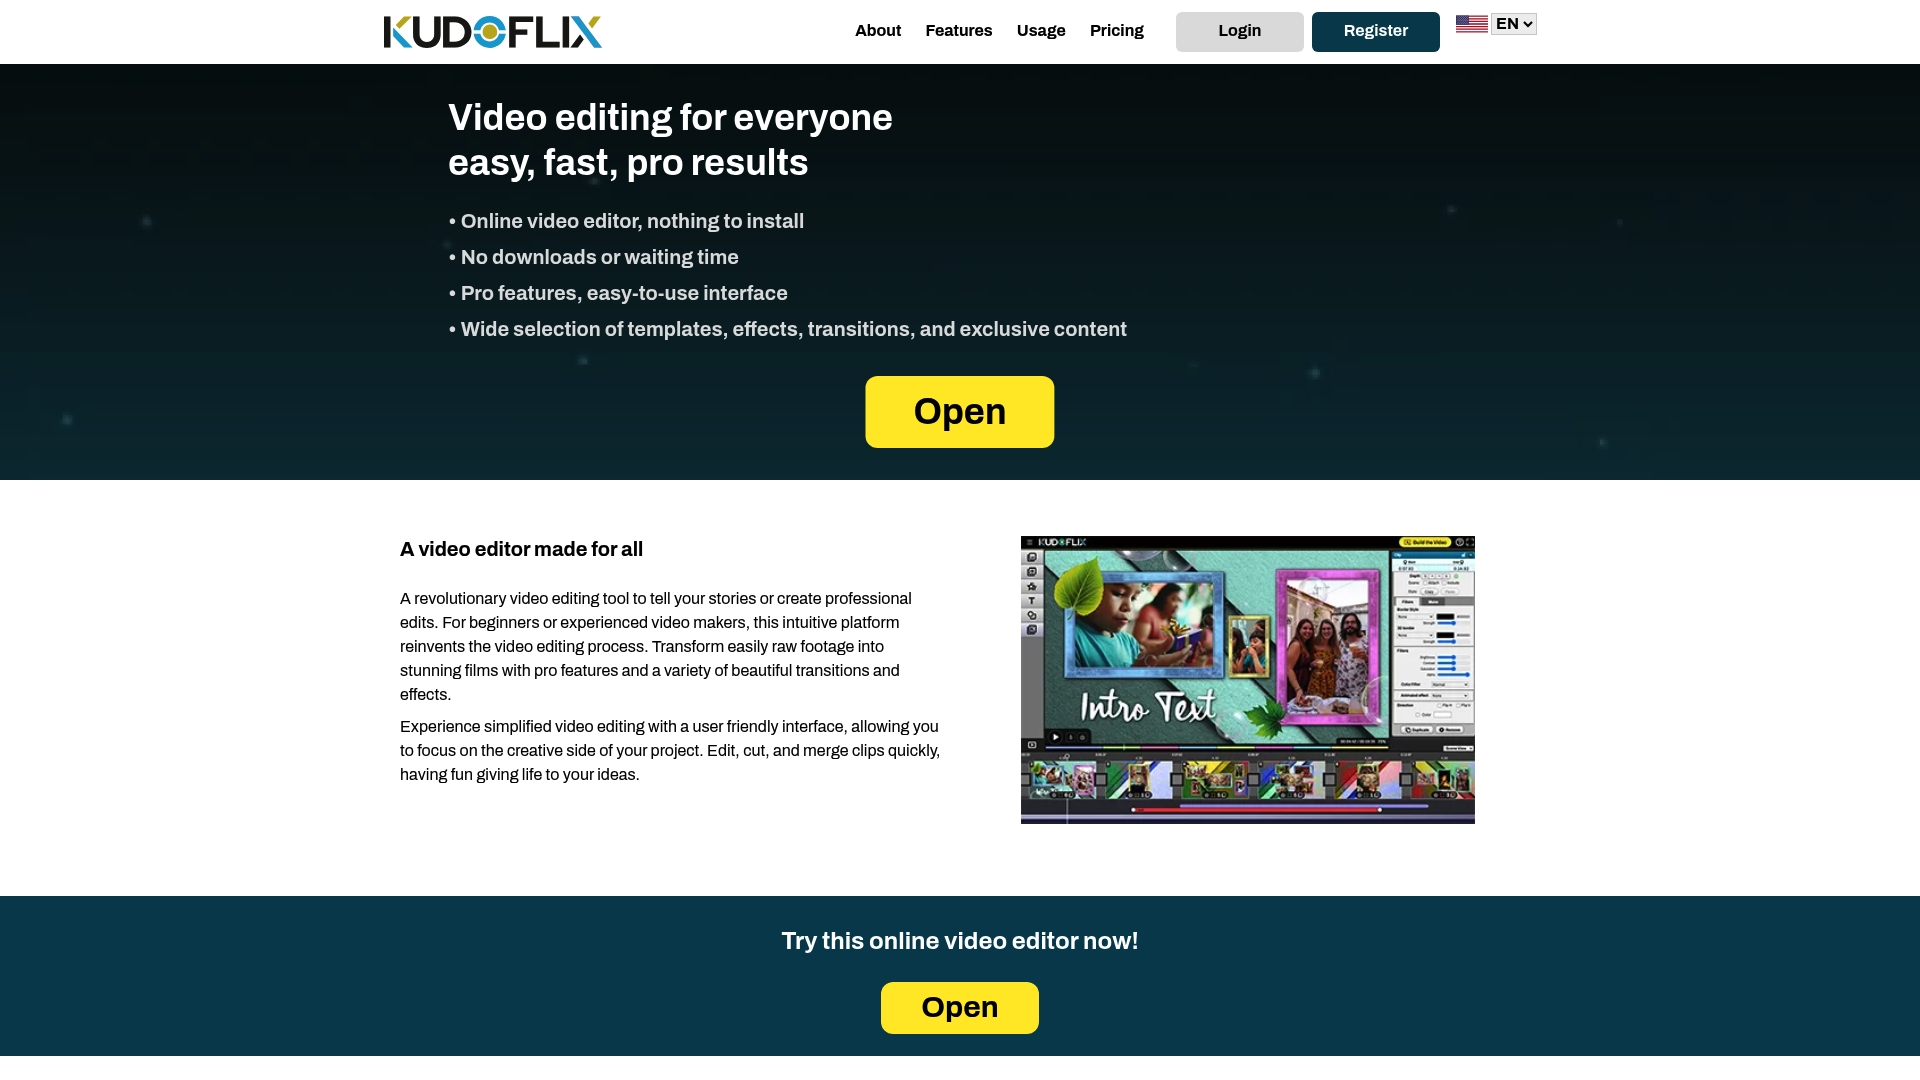
Explore what you can create with Kudoflix and see how the timeline tools work across real project types, from social media clips to family films.
Recommended